Coloring and shading in Illustrator CC
It’s time for a second part of our tutorial: coloring and shading in illustrator! Thanks to this our character will get even more personality. This tutorial should help you to understand better how layers in Illustrator CC work.
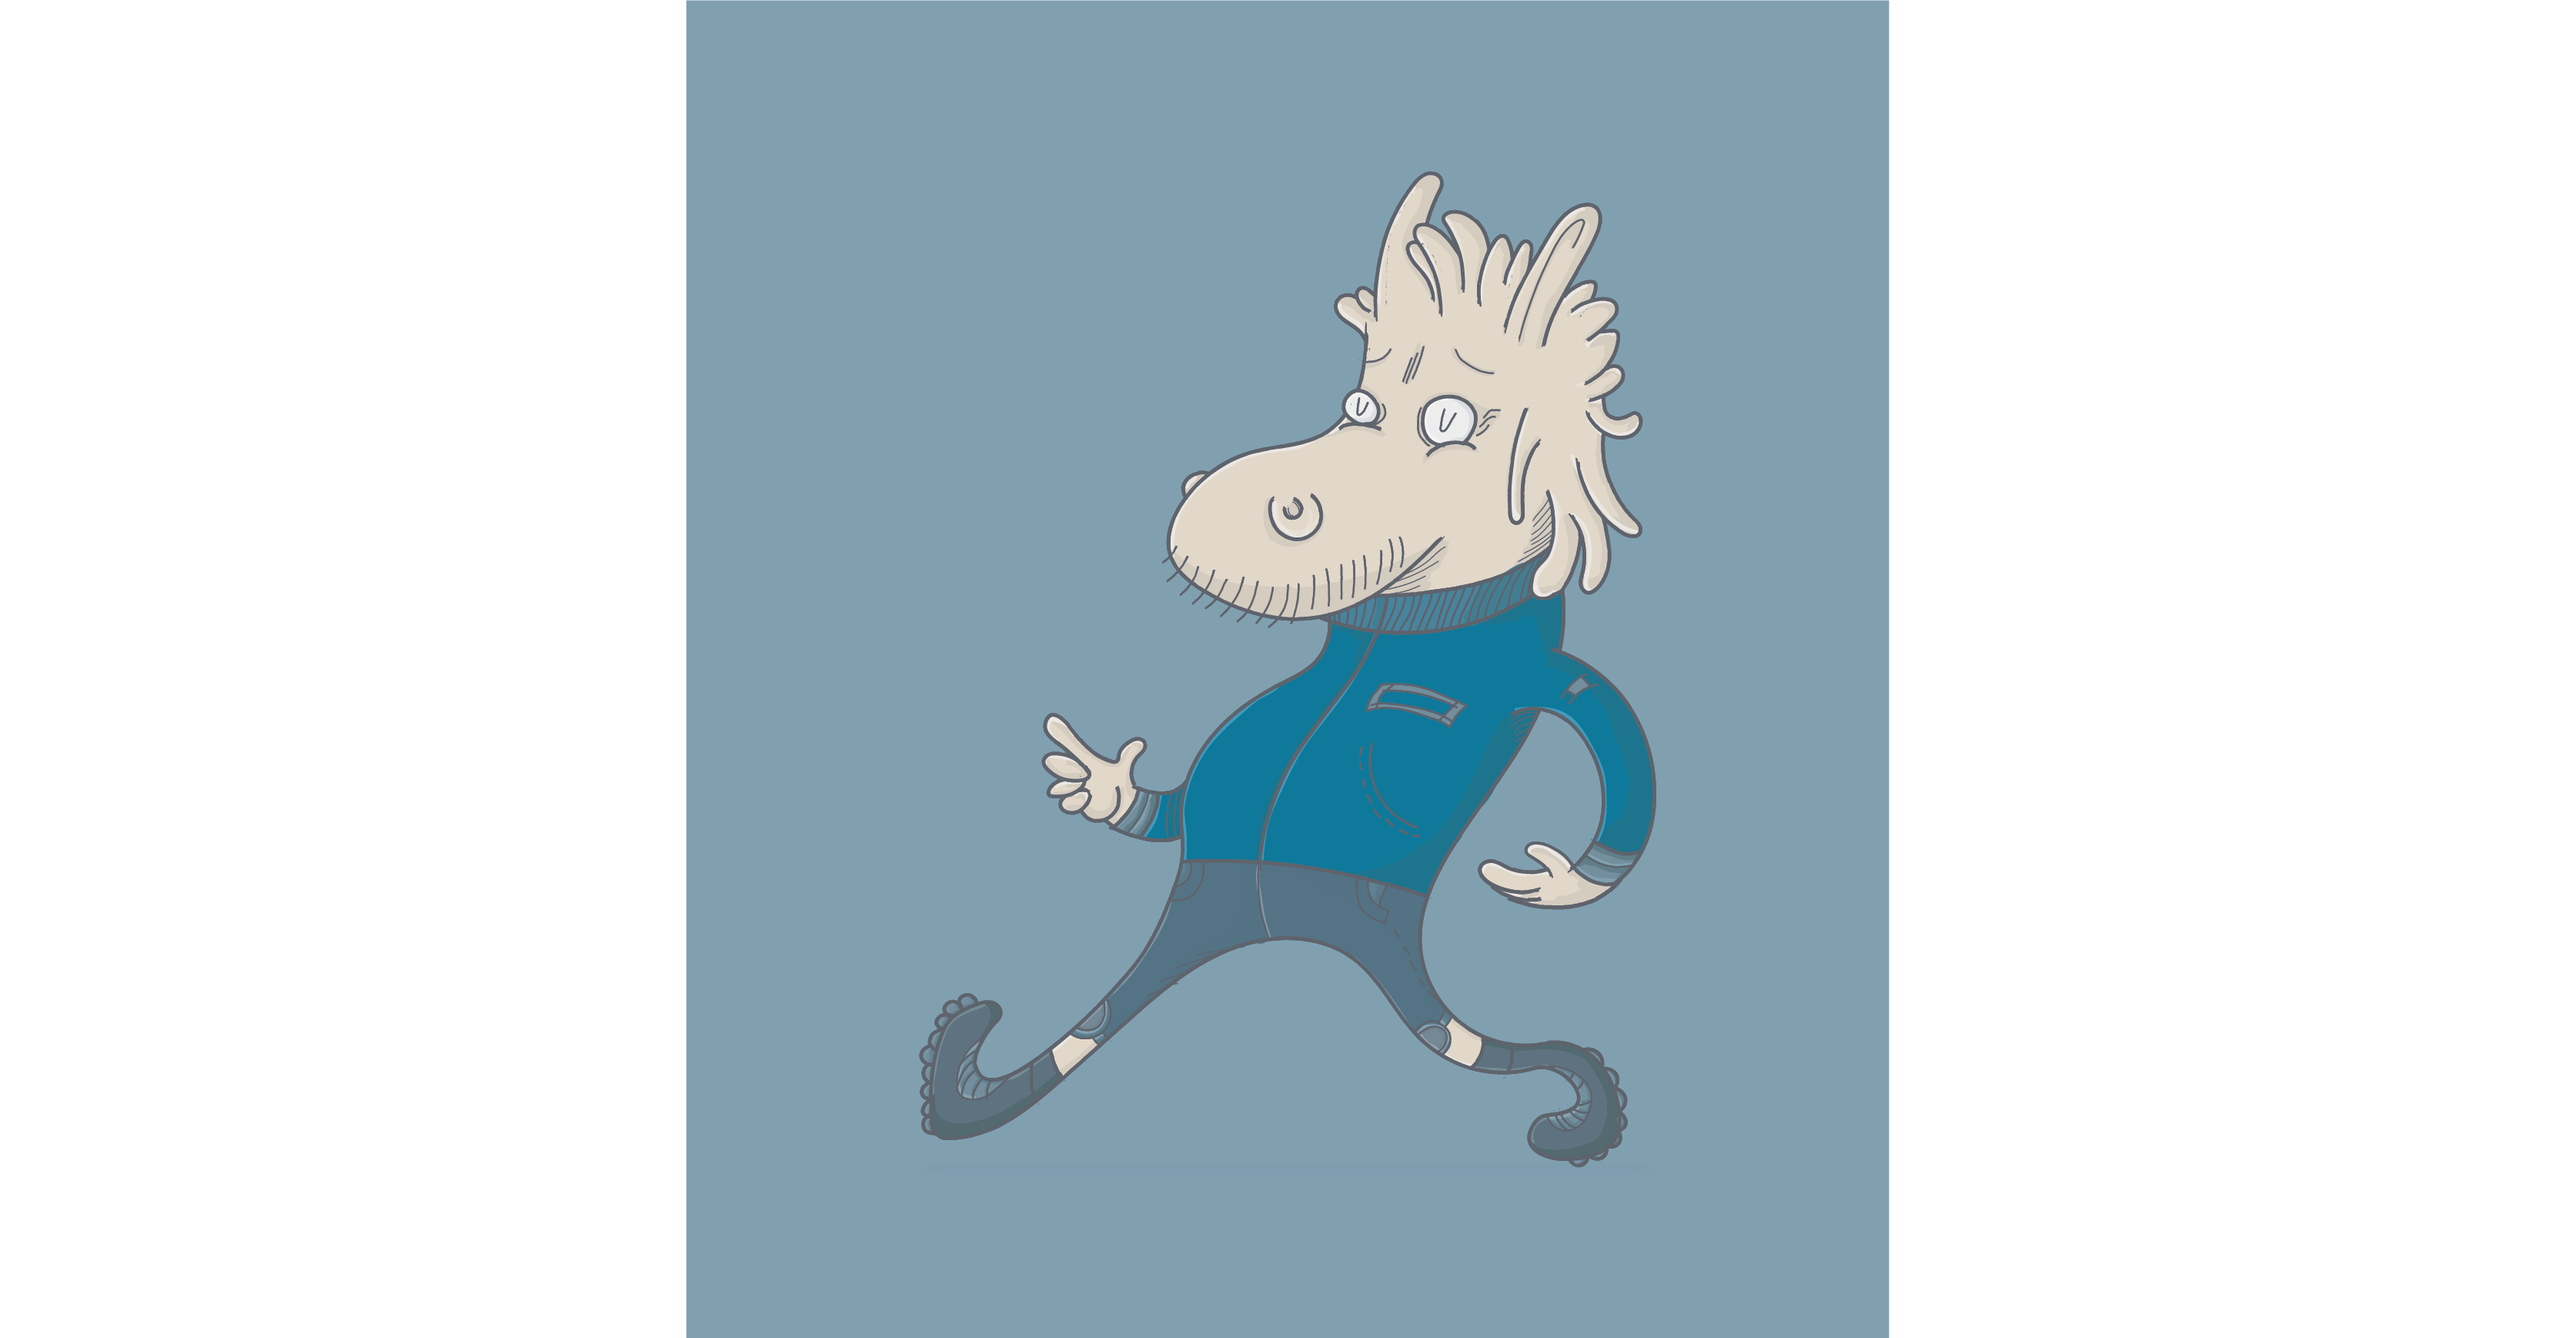
This will be our final result:
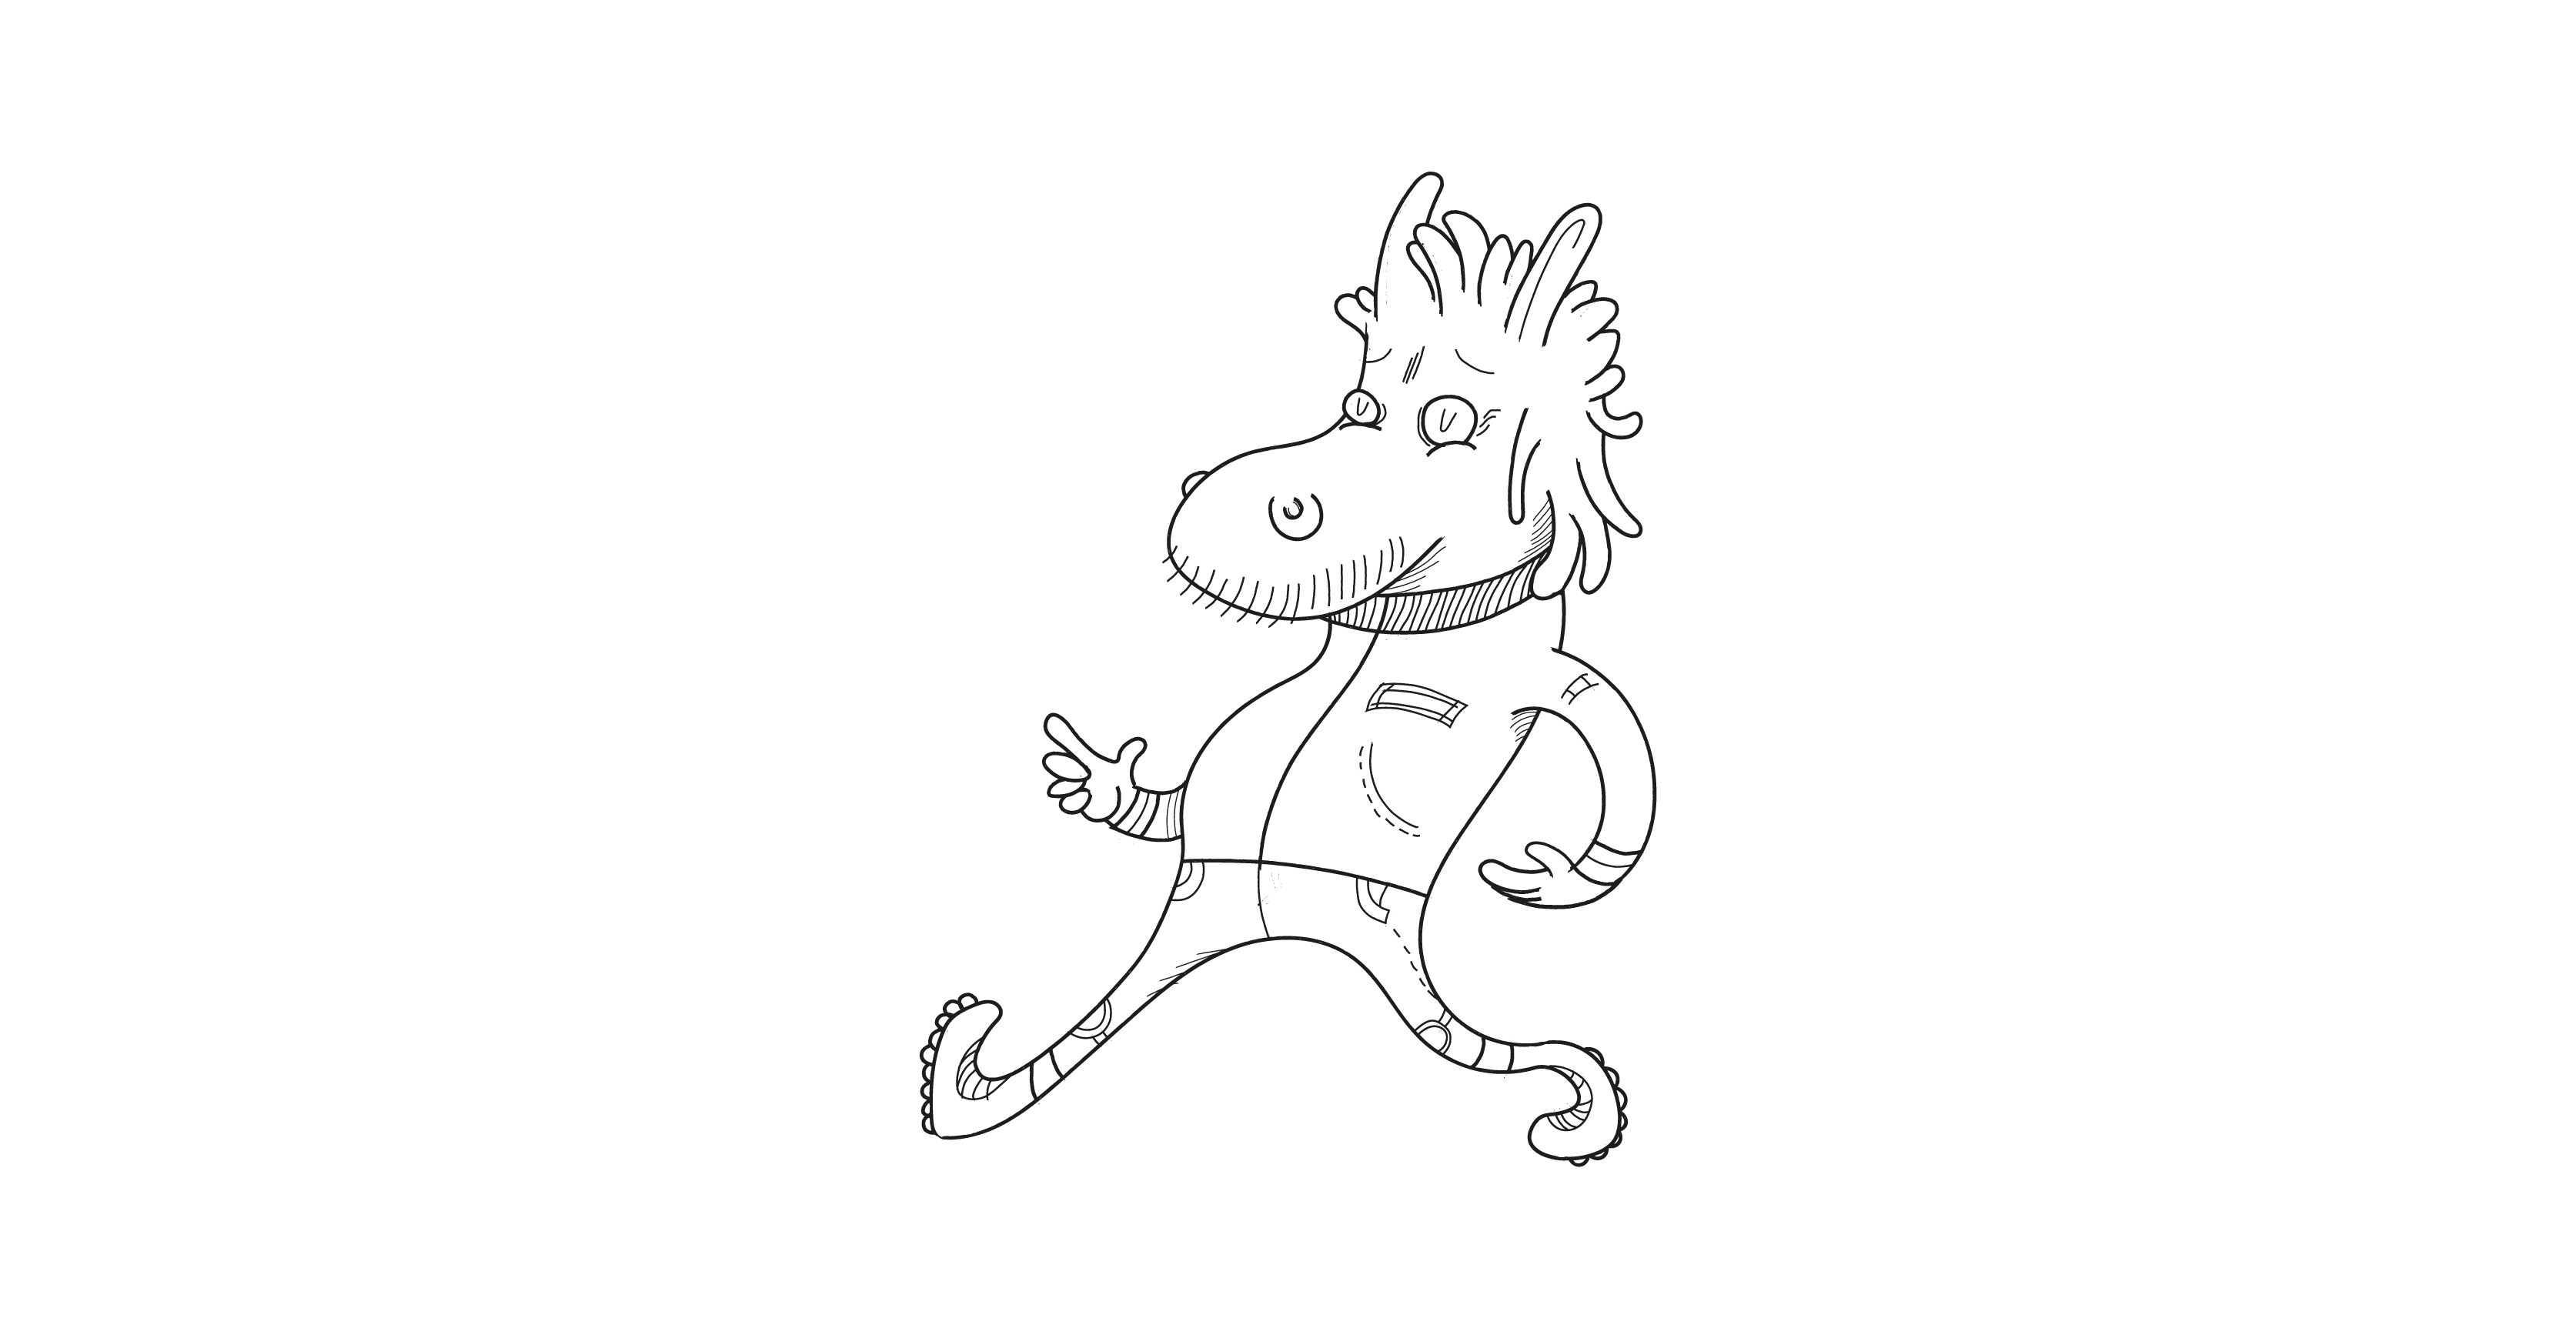
We start from the moment where we finished our previous tutorial (look at “Creating a character illustration in Illustrator CC with hand drawn brushes”).
Before we will take some coloring actions let’s remove redundant layer named “Drawings” by clicking icon Remove Layer at the bottom bar of Layer Panel. Let’s also rename “Brushes” Layer to “Colors”.

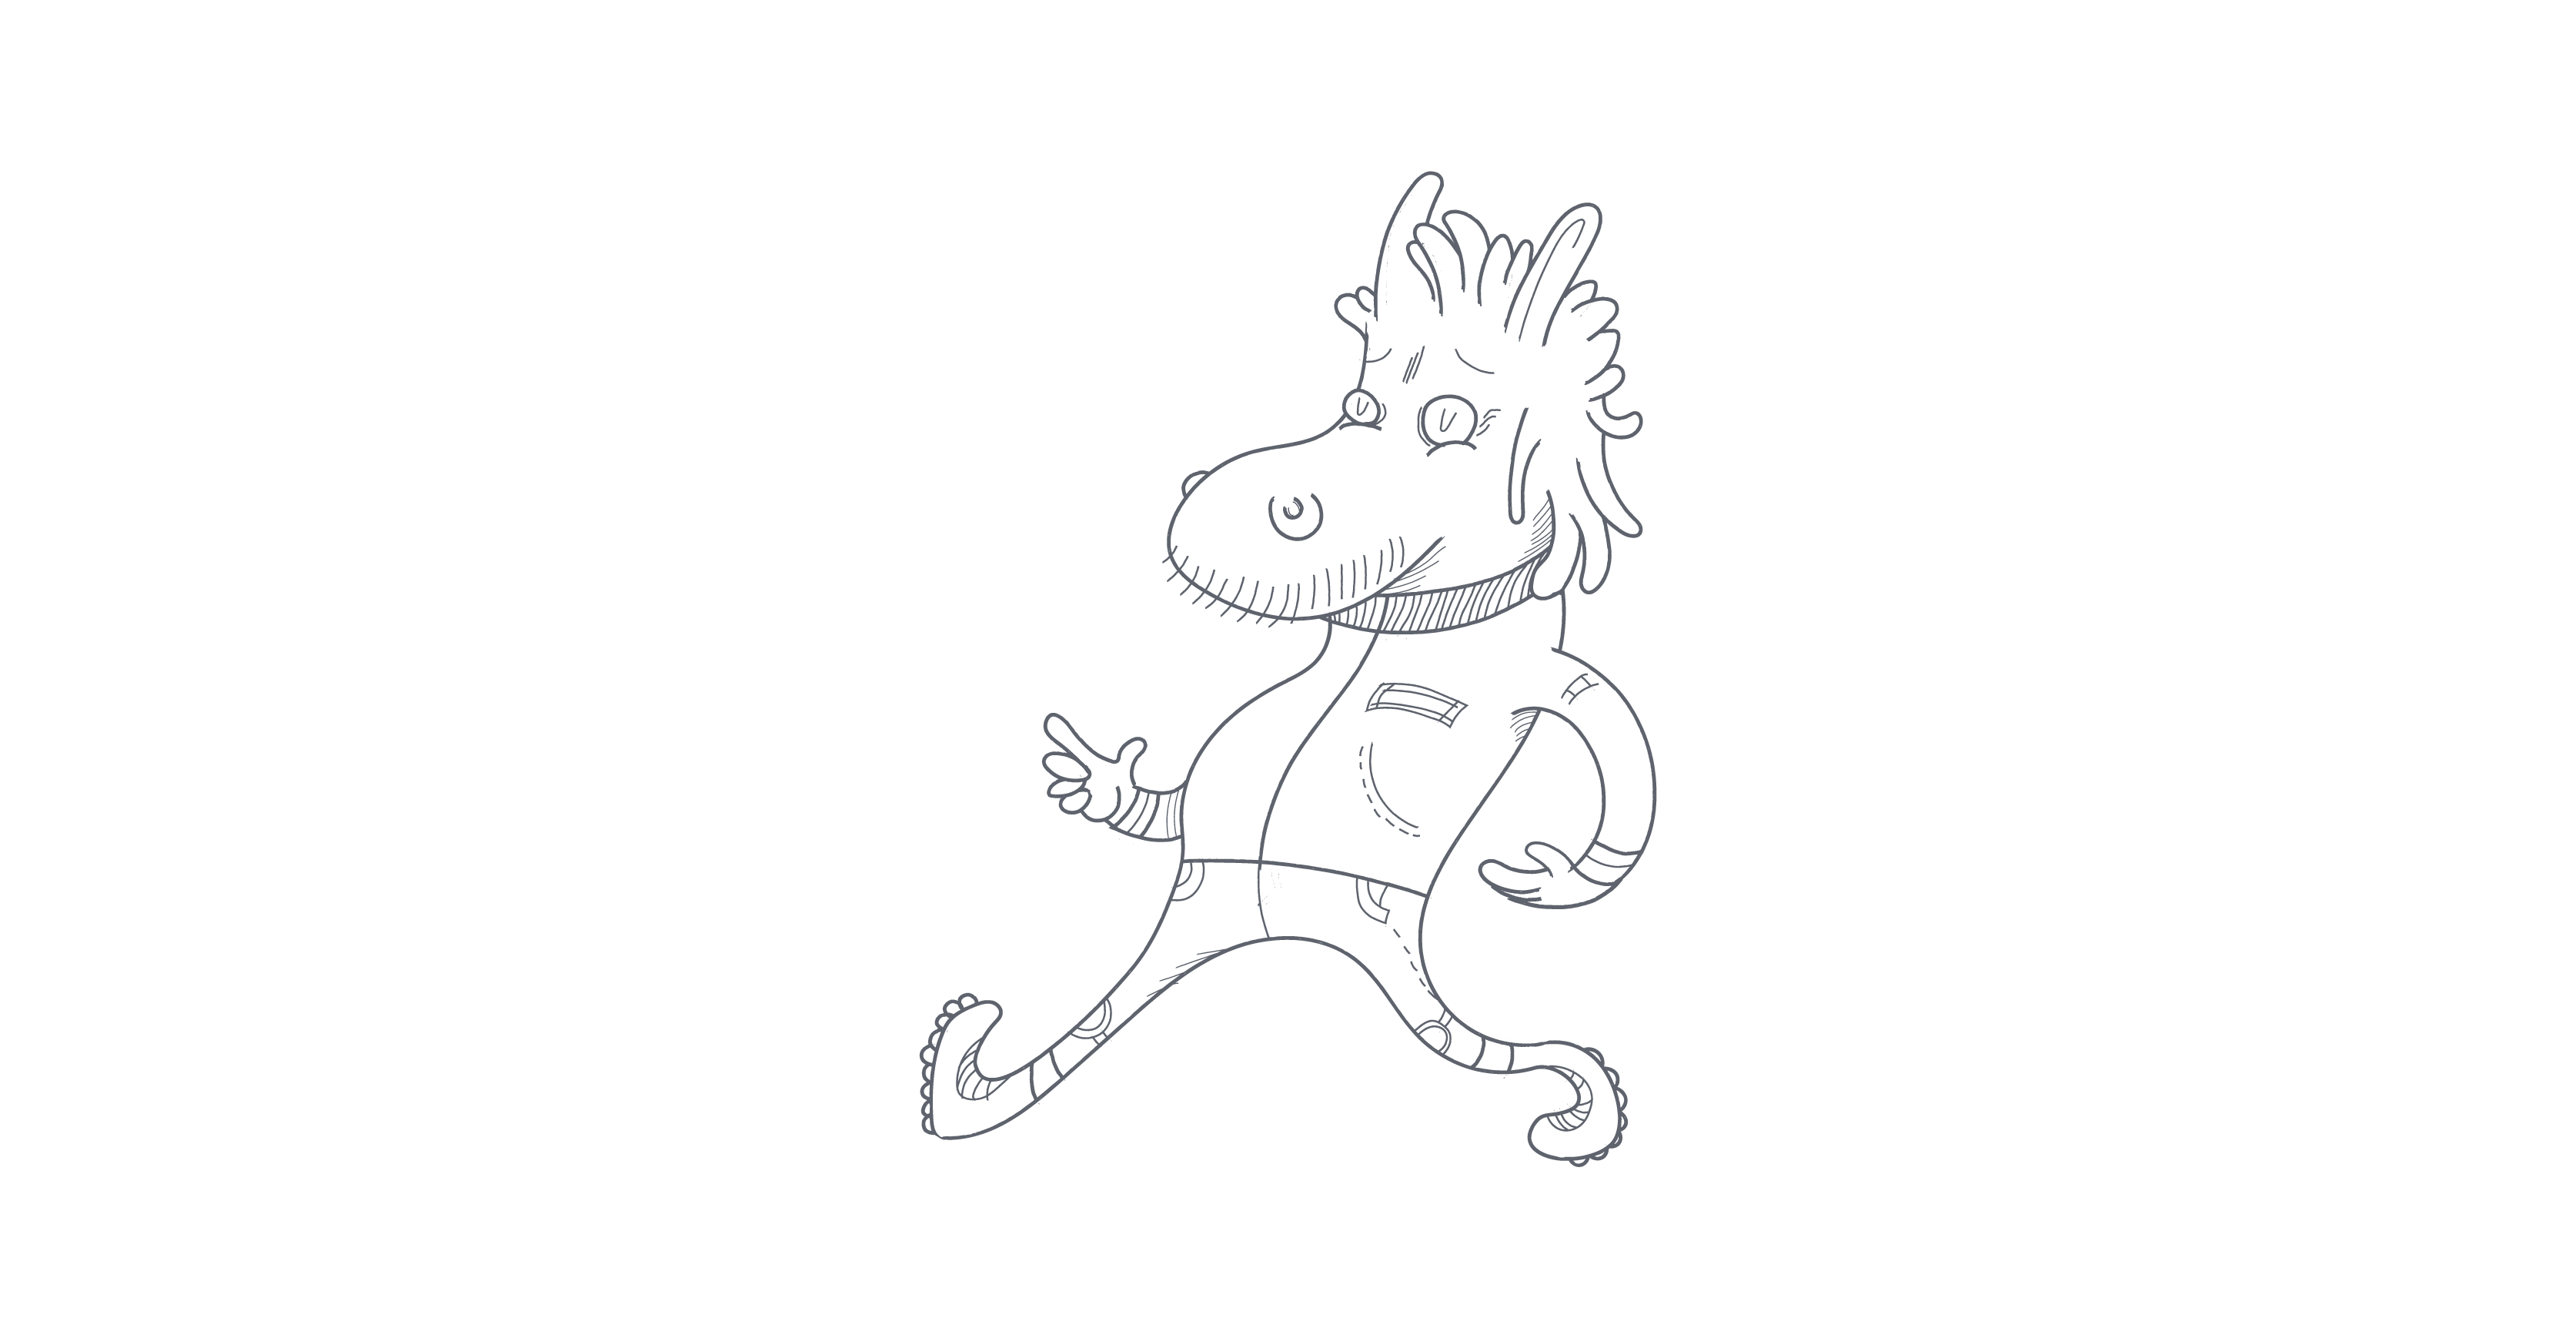
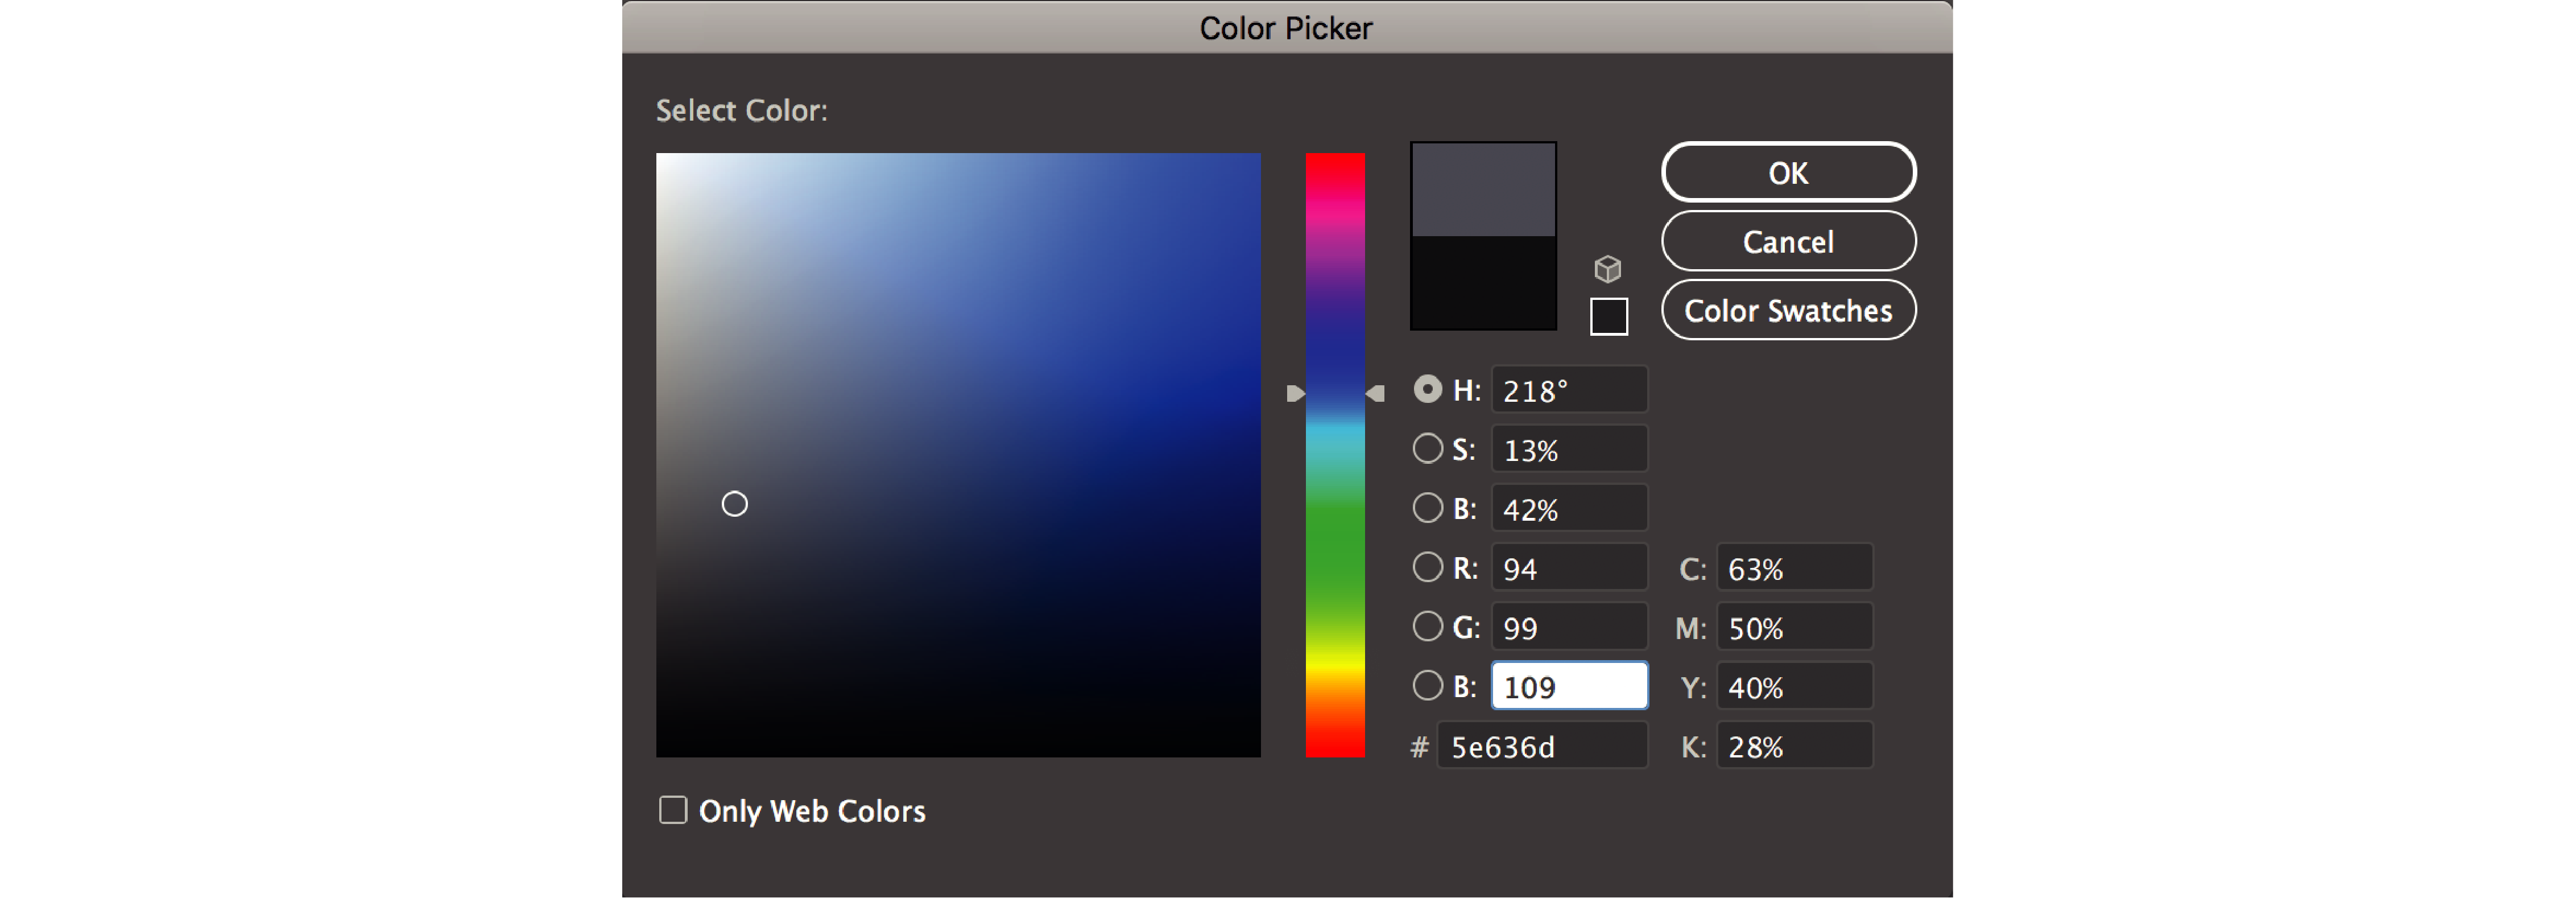
Now let’s change our character’s outlines colors to a softer grey. This is the code of one I used: #5e636d. To pick exactly this color for our character’s outlines let’s select our horse with selection tool and then let’s double click on fill. New window will appear with HEX text box - let’s paste there our grey color HEX code and then click OK.
Now let’s add some more layers to project. In total we will use 5 layers, so we need to create 4 more. To do this, we need to click on New Layer Icon at the bottom bar of Layers Panel. Lines Layer and Color 2 Layer should be positioned above Colors Layer and Shadow Layer and Background Layer should be positioned under it. To move layers in Layer Panel we just click, hold and then drag them up or down.

Now we have to copy our character to the top layer named Lines. To do this we select our character in Colors Layer and we press Command + C. Then in Layer Panel we click on Lines layer, and with it selected we copy our horse to the exactly same position by clicking Command + Shift + V. Now we have to lock Lines Layer by clicking Lock Icon on this layer.

Preparations finished, time to start some coloring! To add first colors to our anarchist character we need to select again Colors Layer and use Live Paint Tool. After selecting character with Selection Tool in Colors Layer, let’s go to top bar menu in Illustrator, then to Object > Live Paint > Make.
Remember that all of the brush lines we created in previous tutorial supposed to be transformed to outlines. Thanks to this Live Paint Tool will detect the exact edges of our shapes and won’t do any harm to our outlined character during coloring process.
To color my character at this level I used this palette for individual objects -> Jacket #027a9a, Pants #547385, Shoes #5e7380, Skin #e2d8c9, Details #748d9d.
To put colors to our punk horse we need to pick Live Paint Bucket Tool from Tool Panel (K). With this tool and preferred color selected we click on the parts of illustration we want to color.
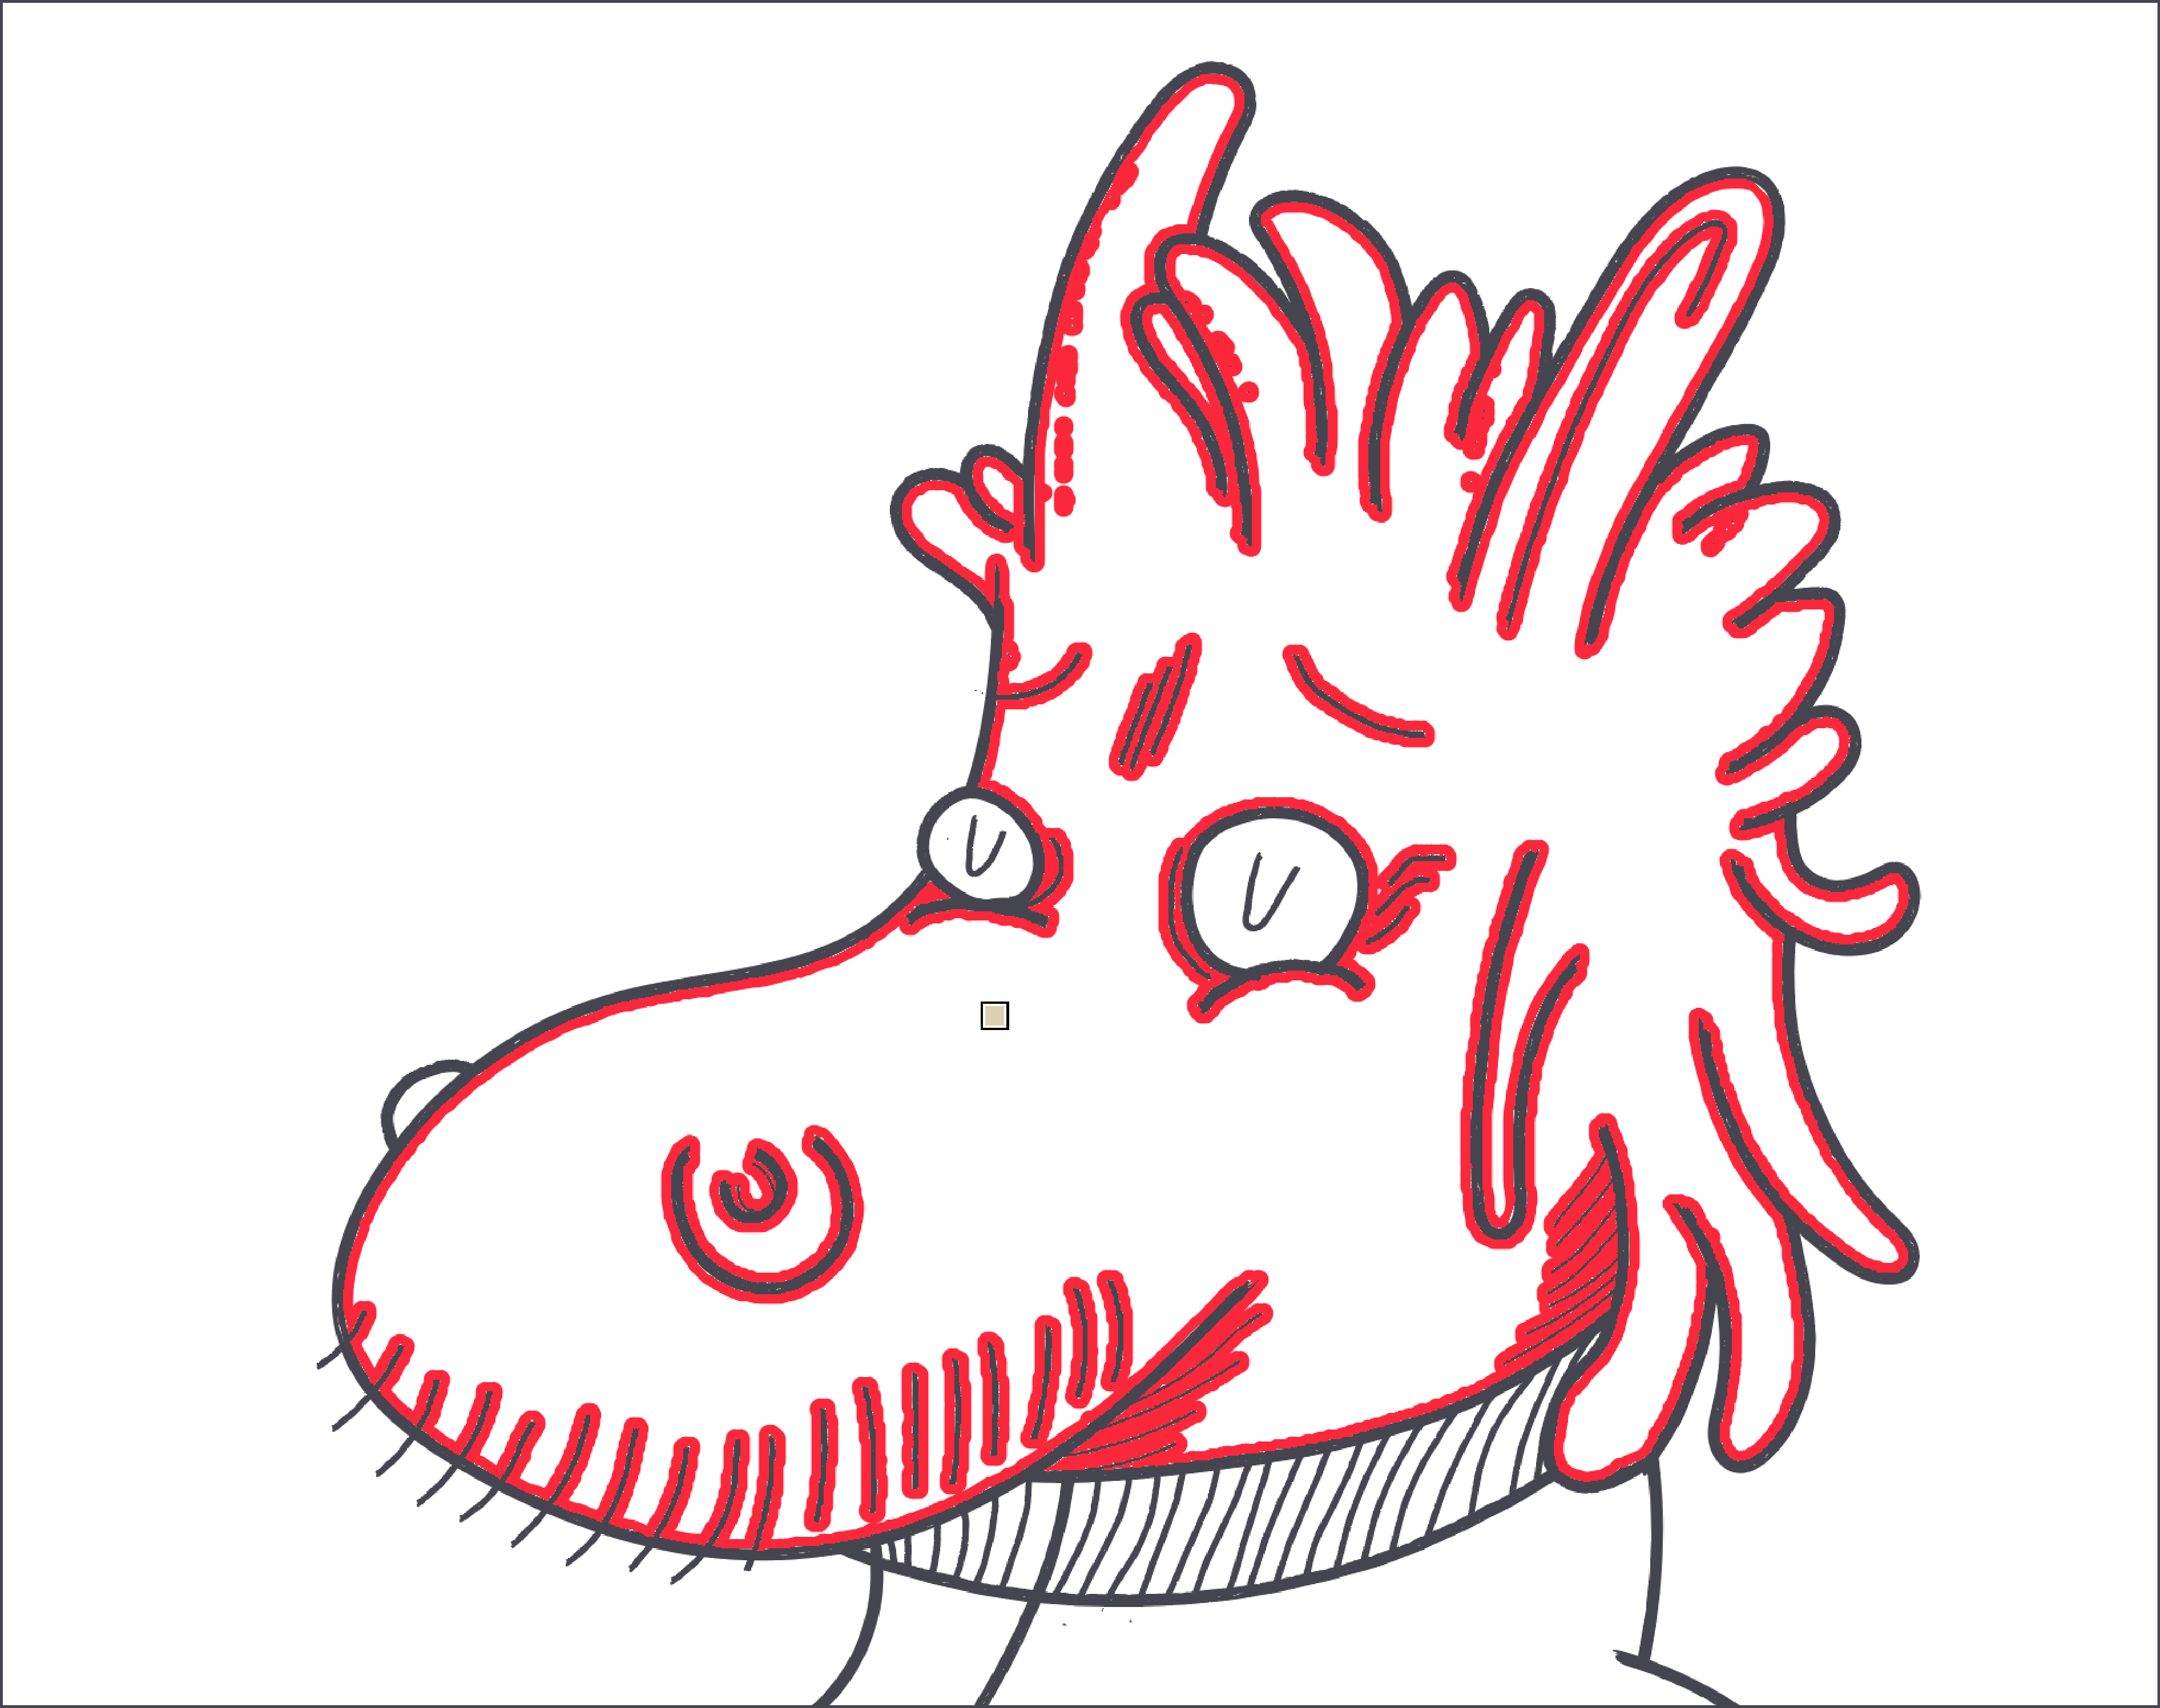
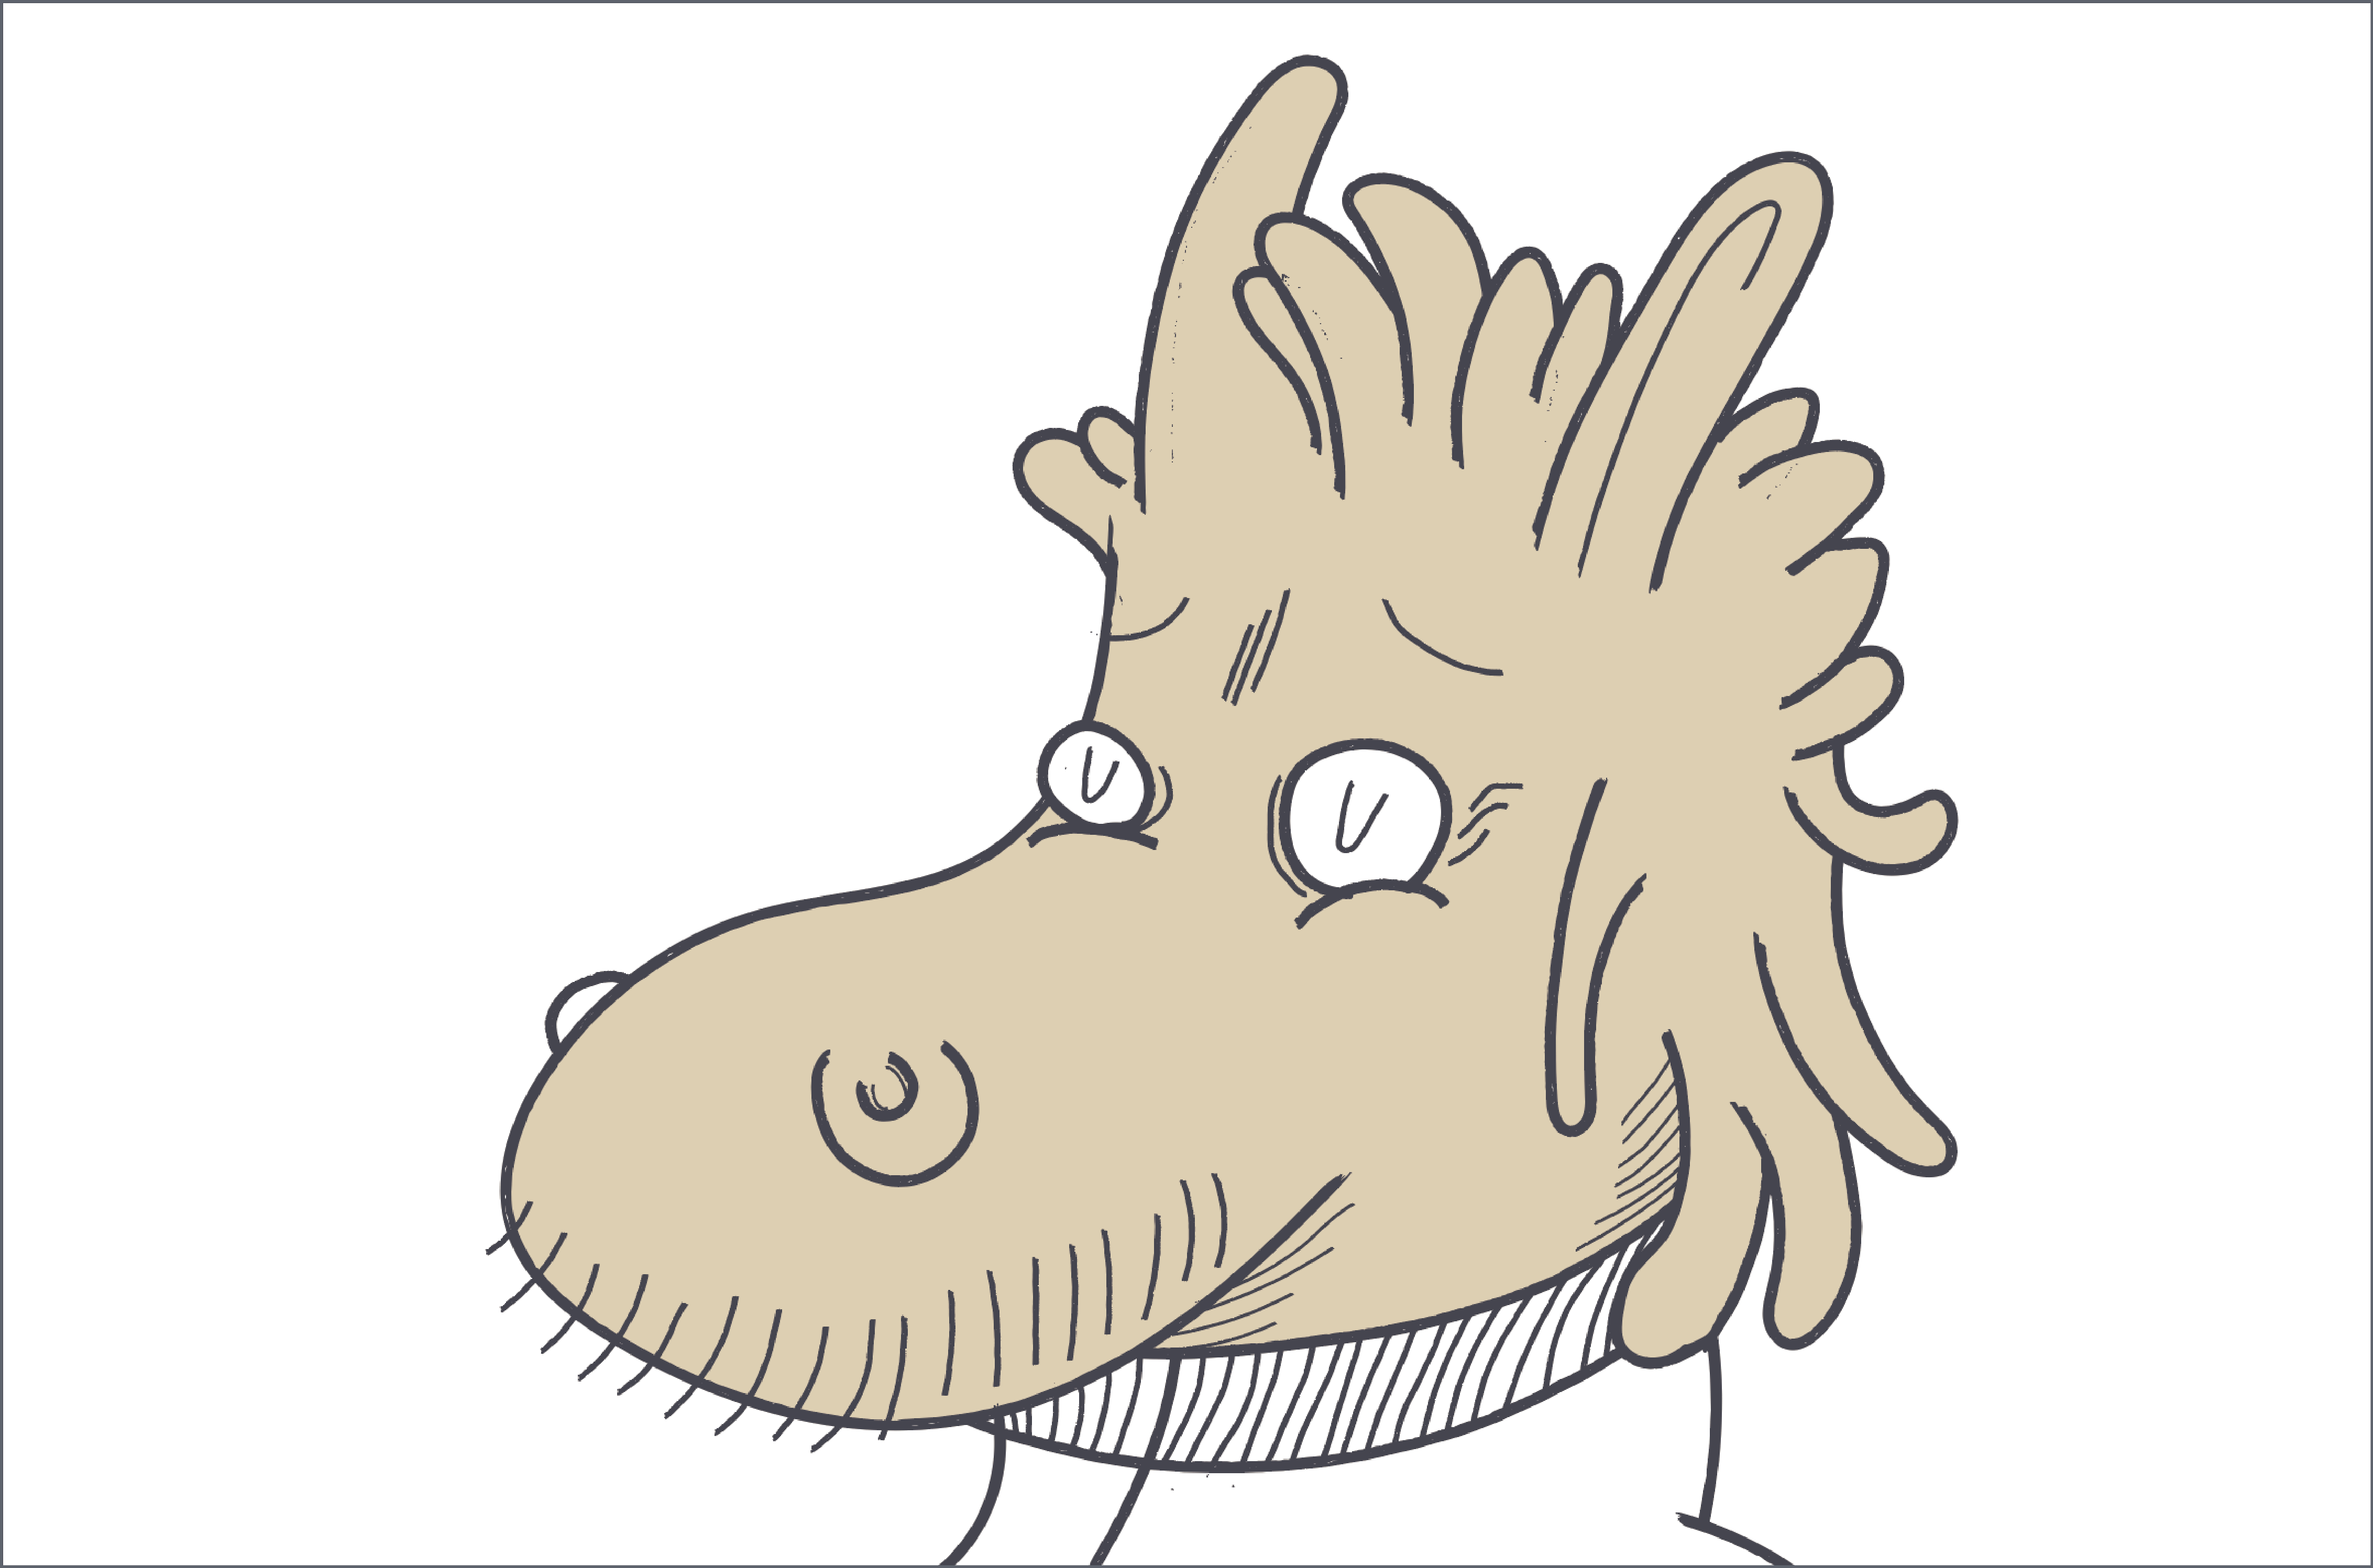
This is how our character should be like after filling all of the white areas:
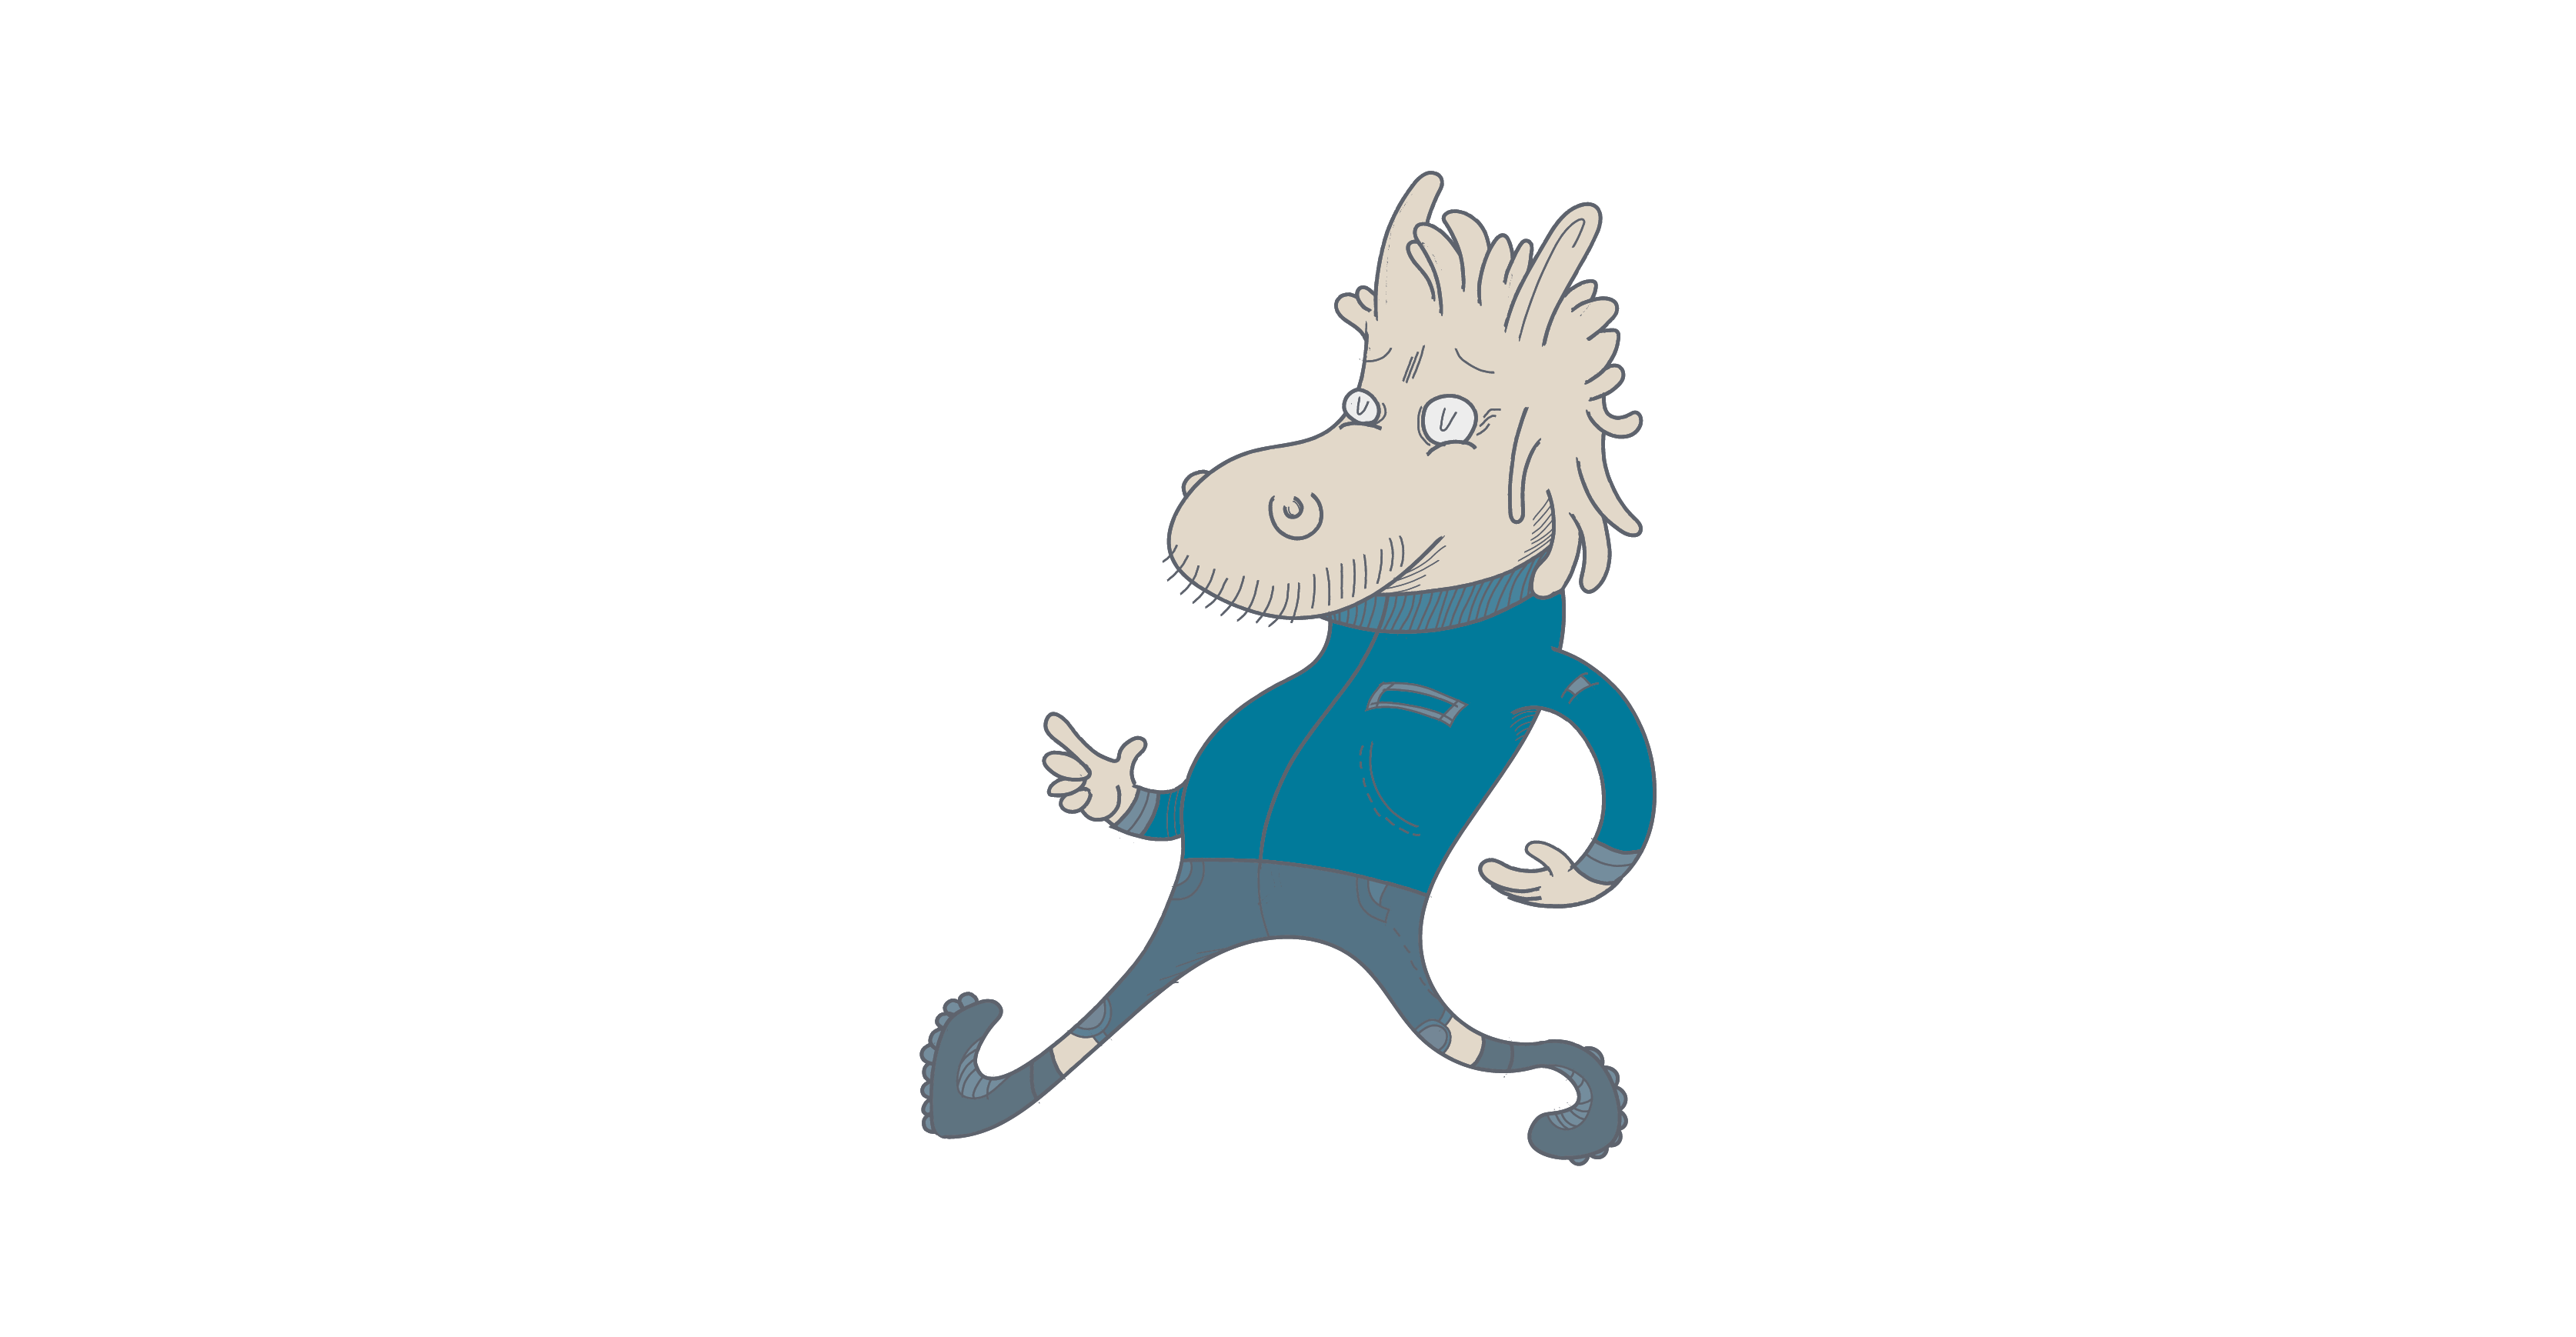
Now when we have our first color layer ready let’s add some shadings and details! To make it happen, we have to pick Layer named Colors 2. and with Blob Brush Tool (Shift + B) tool create there some shadings.
Remember that Lines layer has to be visible. Thanks to this our illustration coloring stays clean and we don’t harm character’s outlines.
For shading colors I used slightly lighter variations from the same color palette that I used during Live Paint coloring process. To pick slightly lighter colors we have to go to Color Picker panel and there from color spectrum on the right side pick the preferred one.
In a first sequence in underneath image you can see the original of character’s hand after using Live Paint Bucket Tool only.
In the second sequence you can see shadings made with Blob Brush Tool. To fix or smoothen shapes created with Blob Brush Tool use Eraser Tool (Shift + E). If you want to change the shape or size of your Blob Brush Tool or Eraser Tool edit their options by clicking their icons in Tool Panel.
In the third sequence you can see l created thiner line shapes with Blob Brush Tool by changing a size of brush in settings of this tool. I applied them to edges, so the shading effect creates natural impression.

This is how our illustration supposed to look like after complete coloring and shading process:
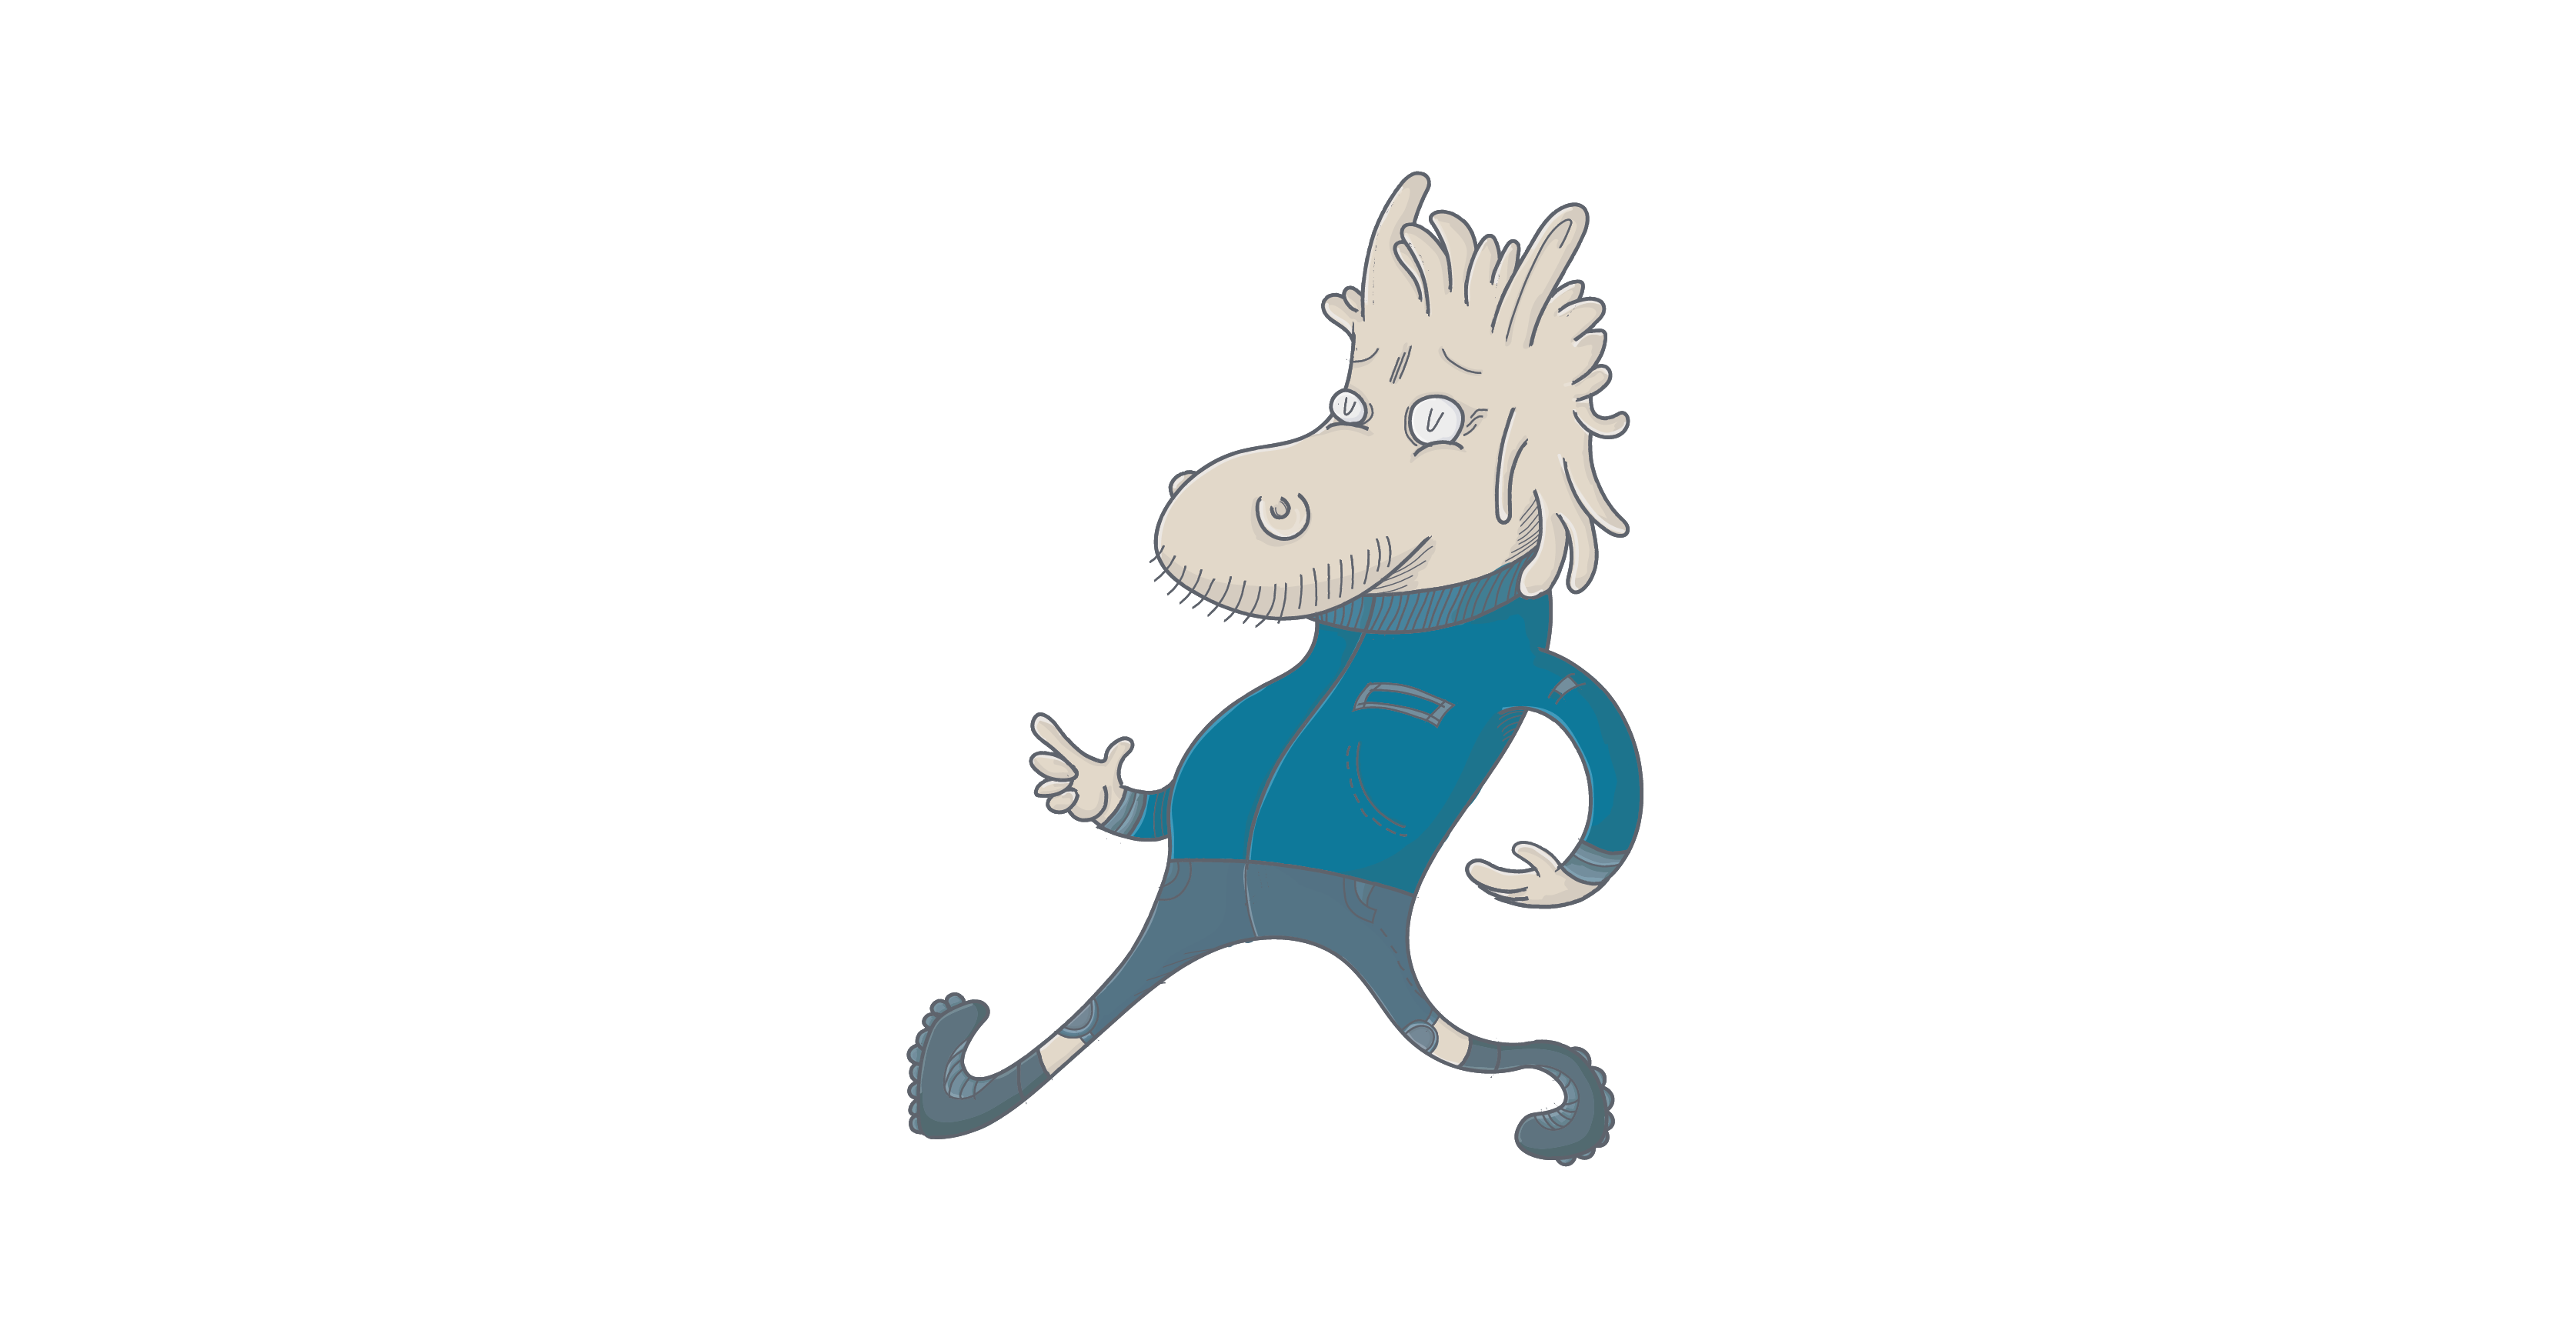
Now when shading process is finished it’s time for adding some stylish background. To do this, we select Background Layer and there we create a rectangle with Rectangle Tool with dimensions parameters W: 135mm, H: 150mm.
For the background I used this HEX color code: #80a0b0.
With our rectangle selected we go to top bar menu in Illustrator, then to Window > Align.

Align Panel will appear. In there we click on these two icons marked with rounded rectangle. Now our background is aligned to art board!
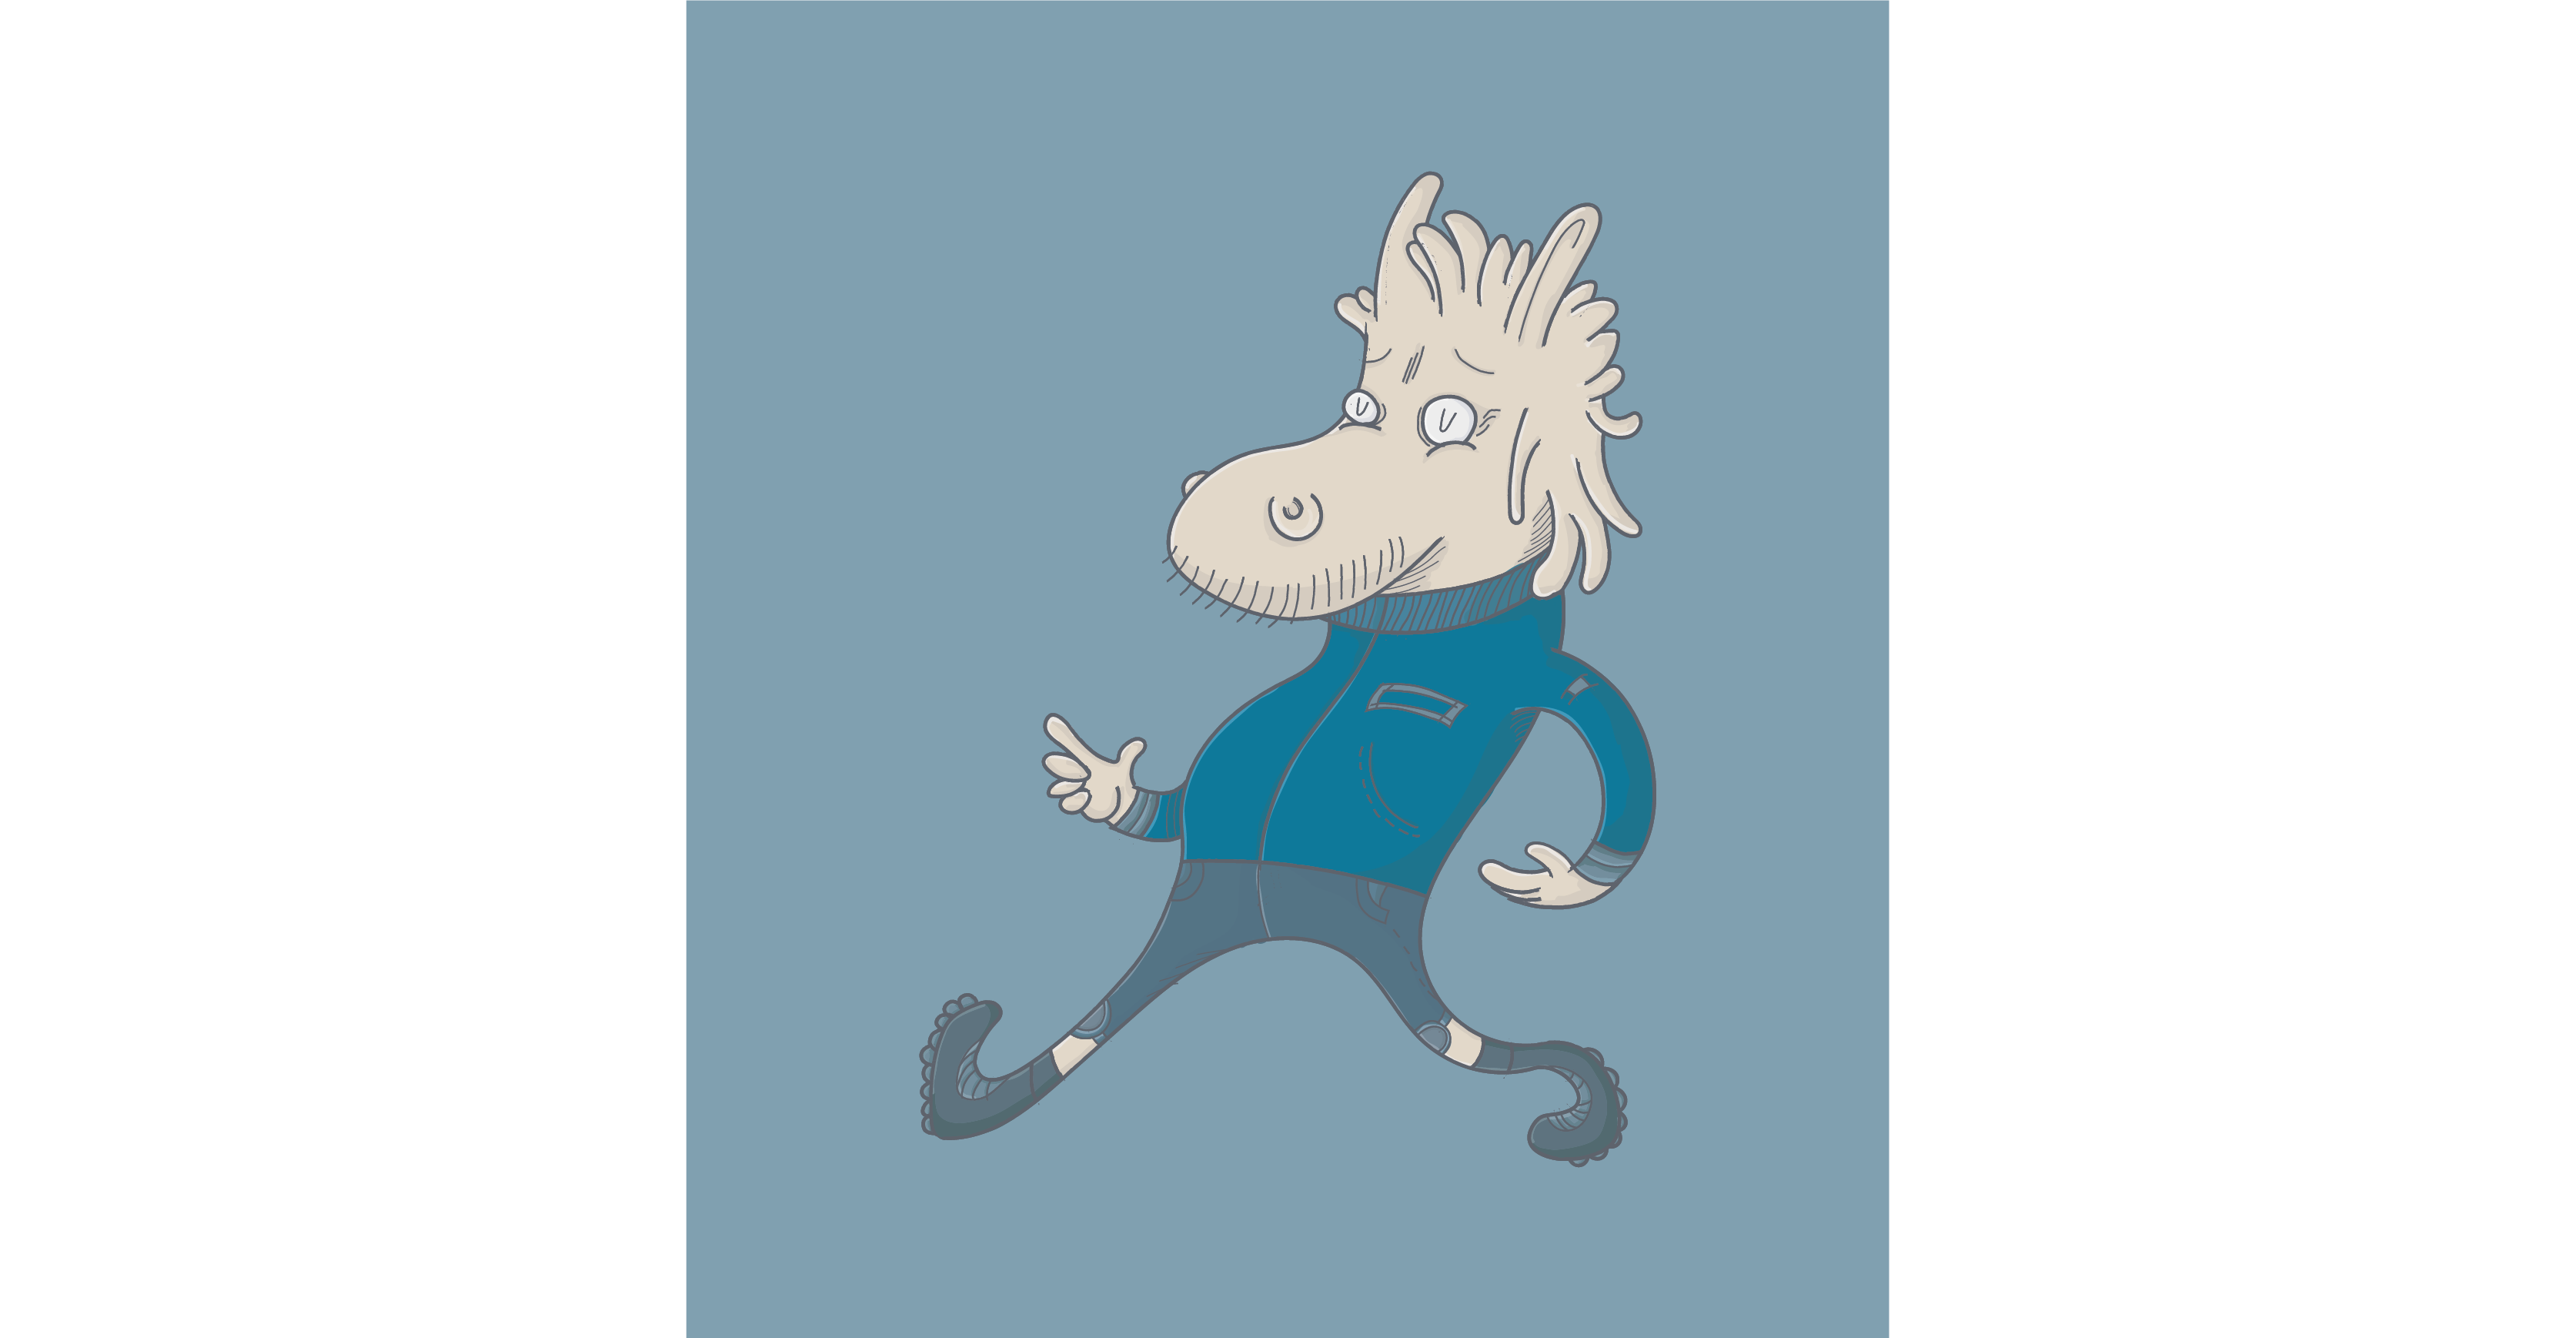
The last thing we have to do is to apply some shadow effect on the ground. to do this we select Shadow layer, then we create there a rectangle with dimensions parameters W: 84mm H: 2mm and HEX code color #7793a3.
Now we have to go to top bar menu, select there Effect > Stylize > Feather. New Feather Window will appear - there we need to set radius and amount of effect. I picked 2mm.
That’s how the final illustration is presenting:

Conclusion: by combining Live Paint Tool and Blob Brush Tool we are able to create some nice coloring for our characters. The more you use it method the more you get better. And remember that you can always add even more color and shading layers - thanks to this our illustration will get even more detailed and deep.


