Creating a character illustration in Illustrator CC with hand drawn brushes
In this tutorial we will focus on methods of using hand drawn brushes in Illustrator. This is one of the most useful methods of drawing in this software - thanks to this you can give some personal touch to your vector illustrations!
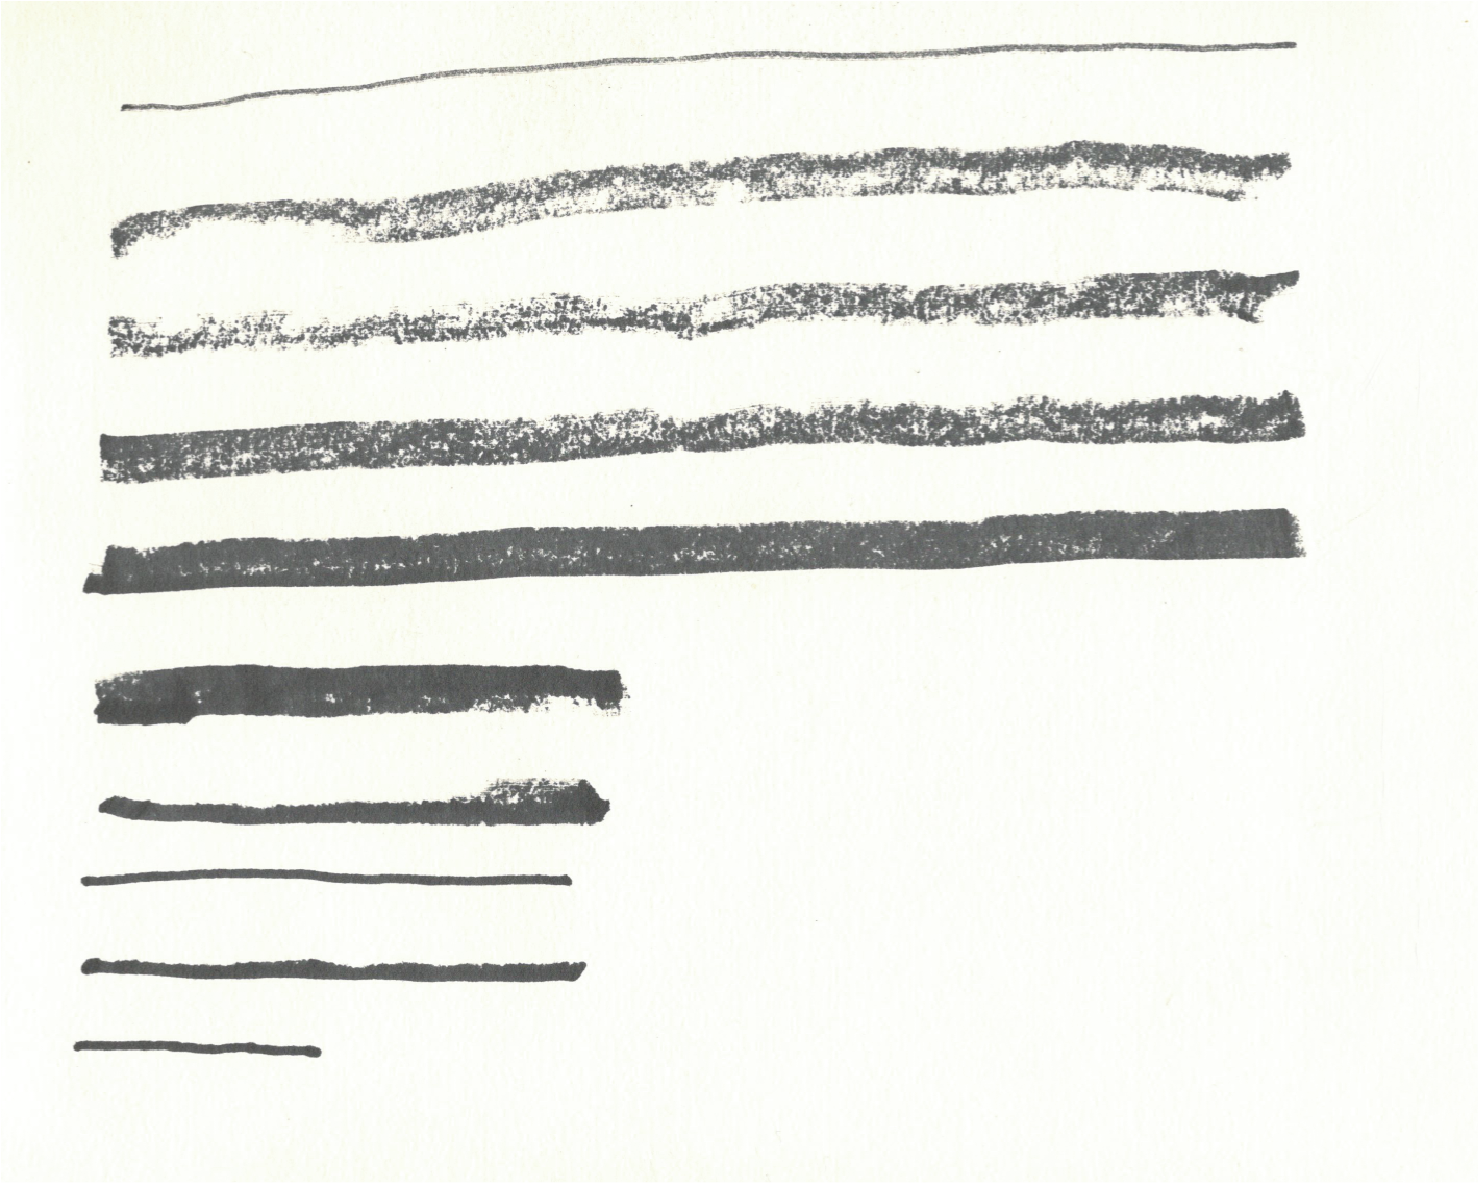
The very first phase of this tutorial will requires some of your creativity. Draw in your sketchbook with a pen, pencil, marker or even water paintings to achieve satisfying shape of your lines! Later you will use them for your vector illustration process. In this tutorial I drew brushes lines with Prisma Color Premier Marker.
Here are the ones I drew. I like the 4th and 5th from the left the most so I will use them to create the brush.
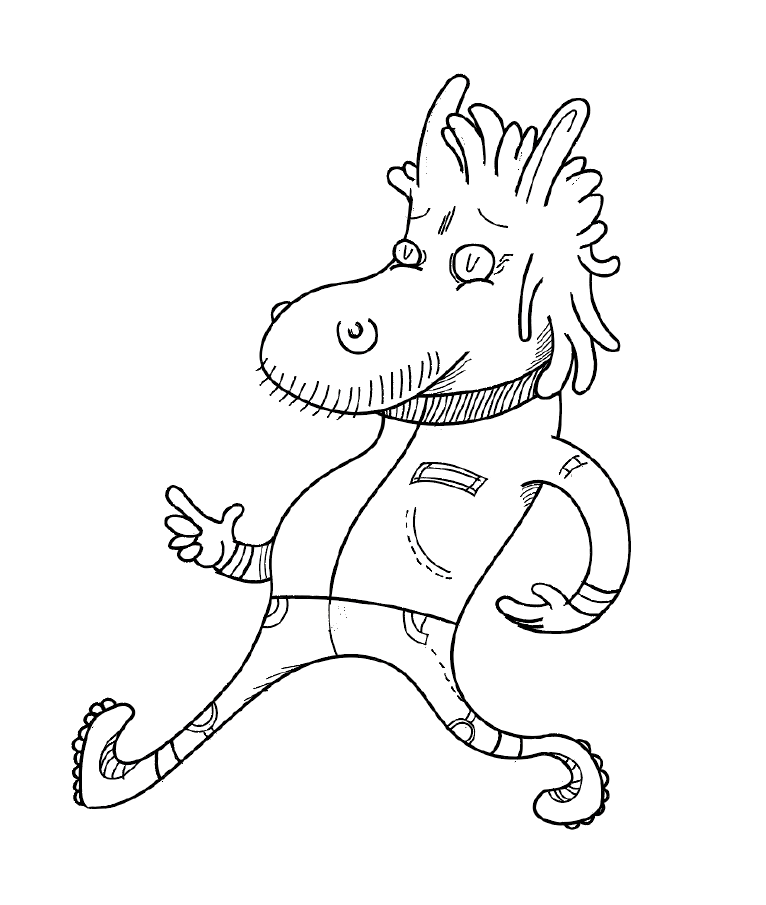
After this we will draw the actual illustration on paper - here’s my punk horse character.
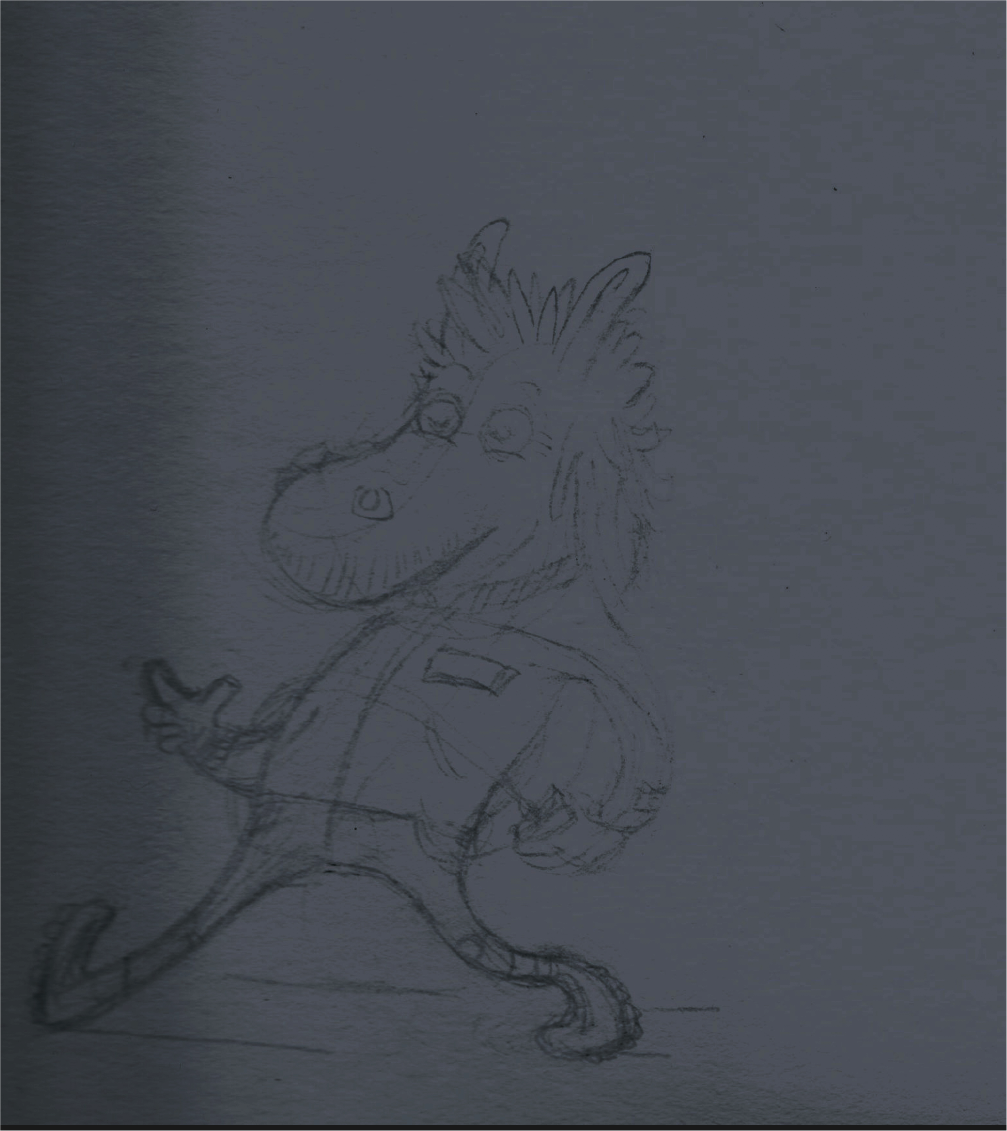
As you can see I it is a rough sketch. But it is useful enough to use it as foundations for a decent brush illustration.
After we’re done with hand drawing we scan our both drawings: lines and punk horse character. If you don’t have a scanner you can take a photo as well.
To keep shapes of illustrations as accurate as possible it’s worth to put some contrast on it. To do this we open our both drawings in Photoshop seperately. Later we go to the bottom bar of Layers panel and we pick icon “Create a new fill or adjustment layer”, then “Brightness & Contrast”. It doesn’t really matters which parameters you will use for this process. The only important thing is that our lines and character illustration should be nicely exposed. Thanks to this later we will be able to trace our lines more accurately and our character will be more visible.
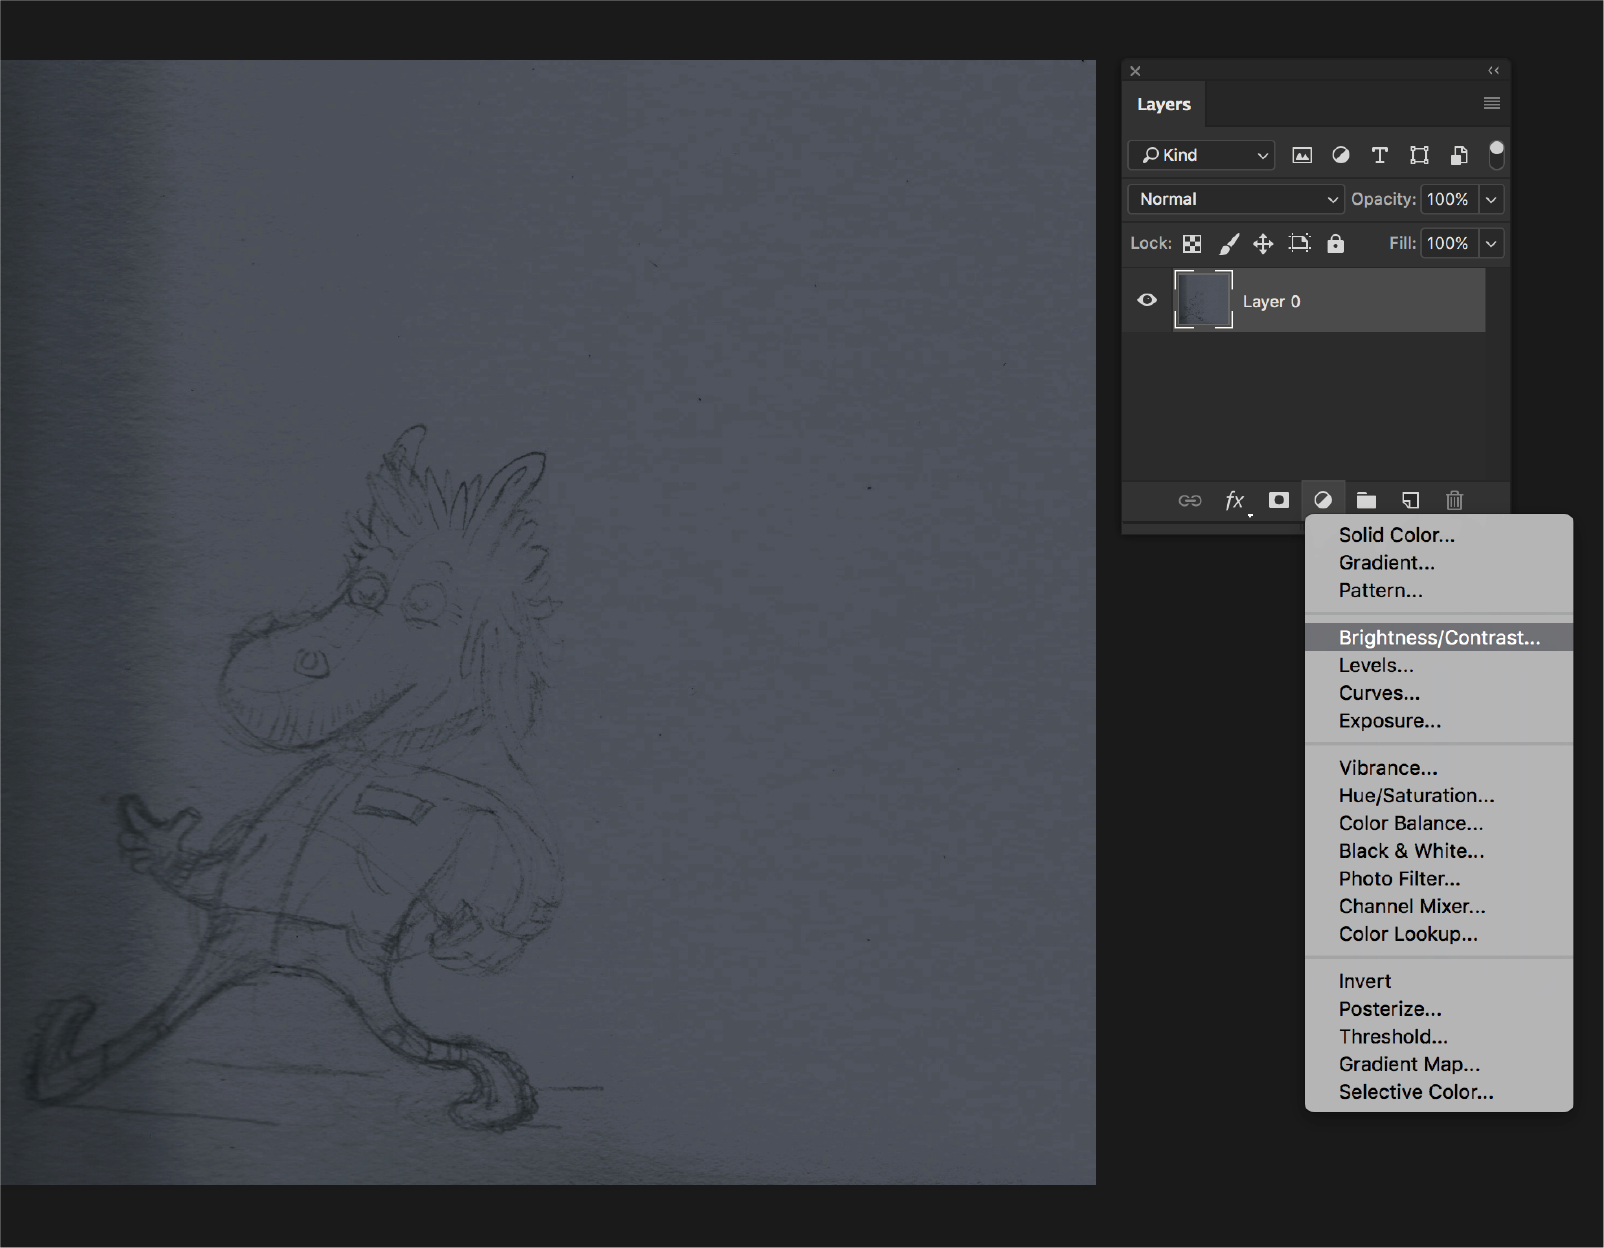
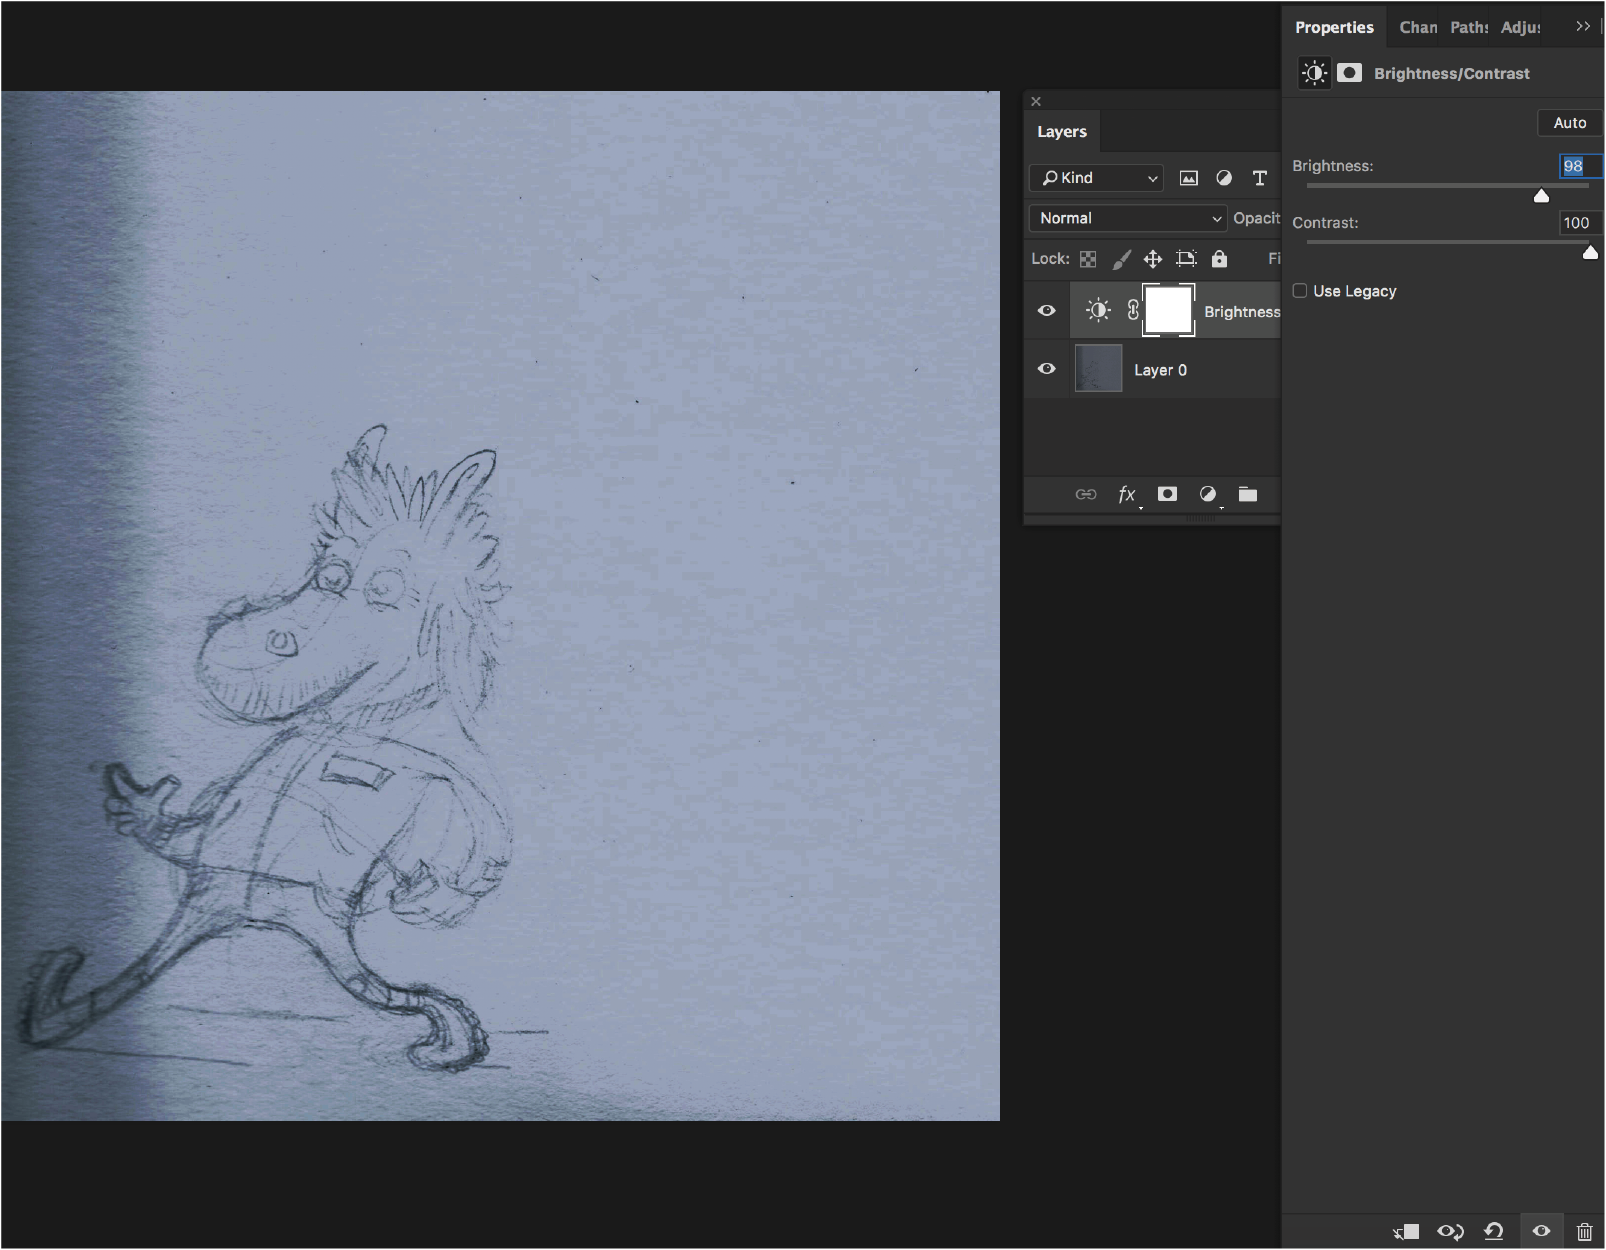
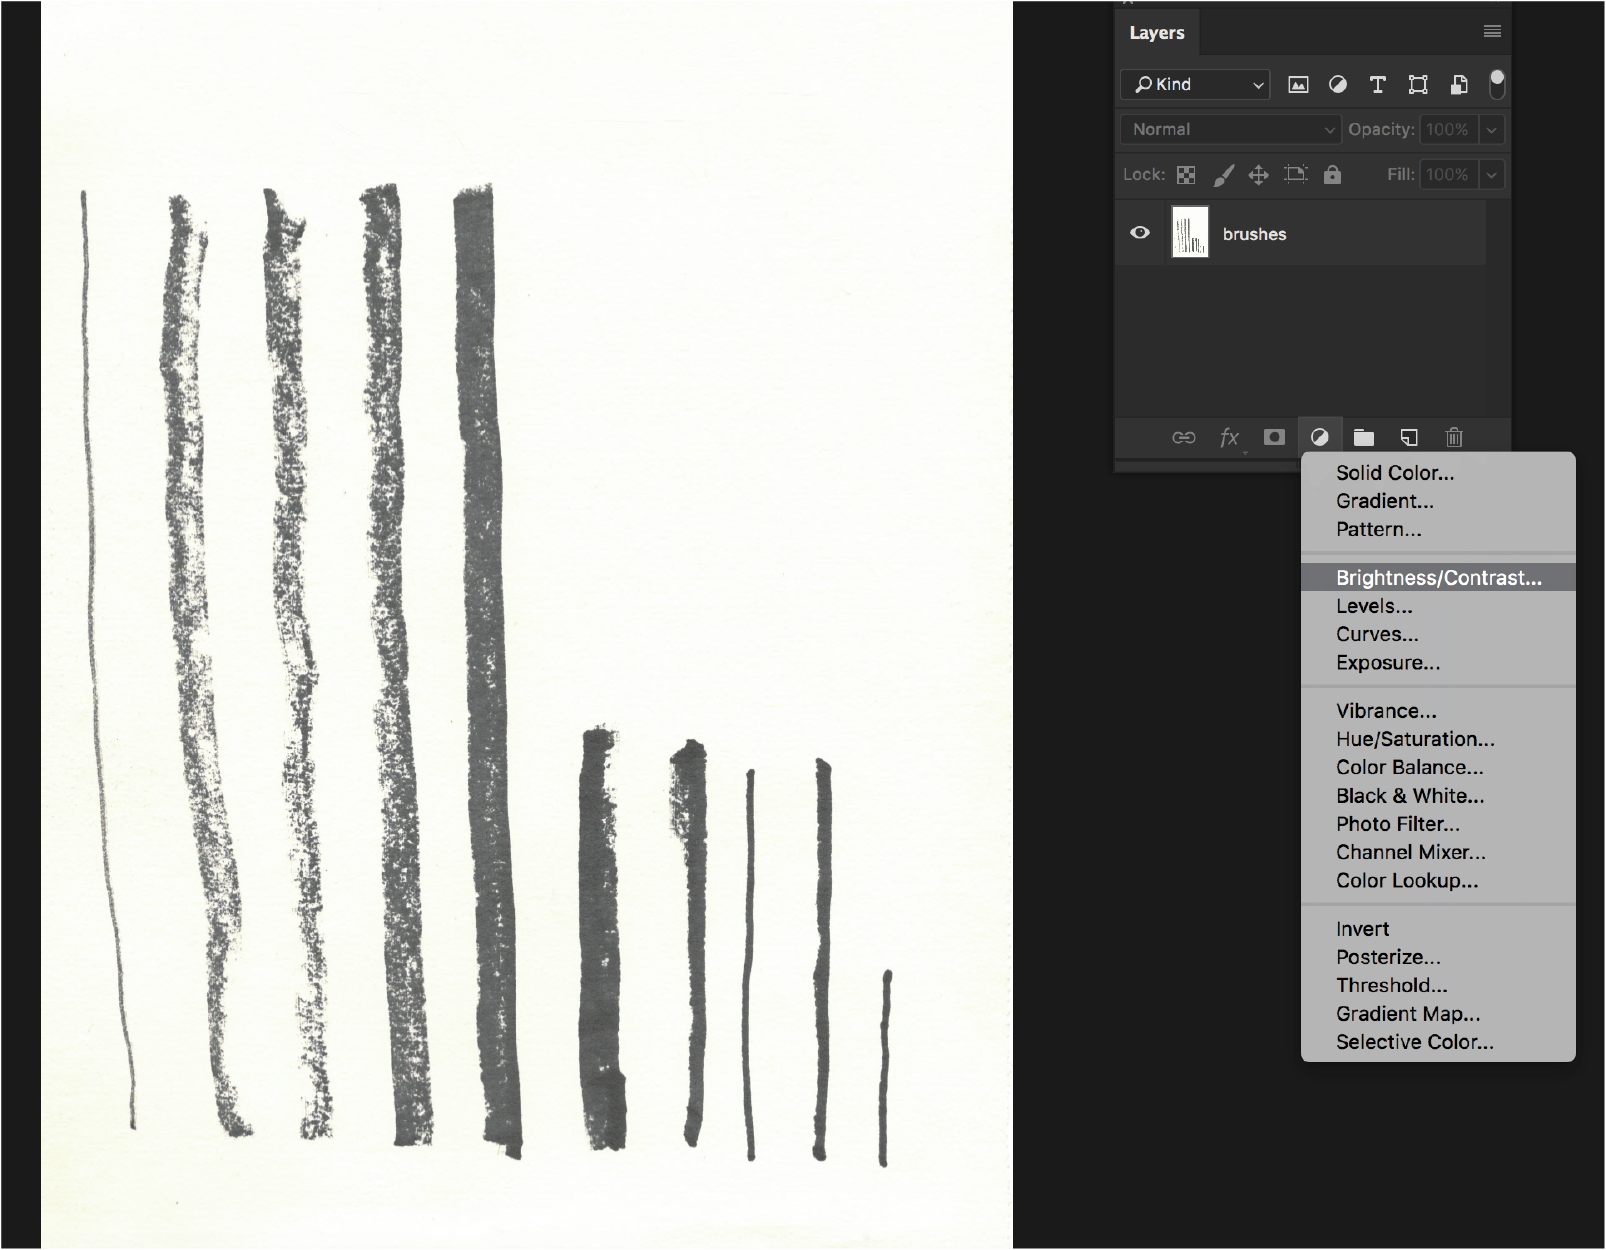
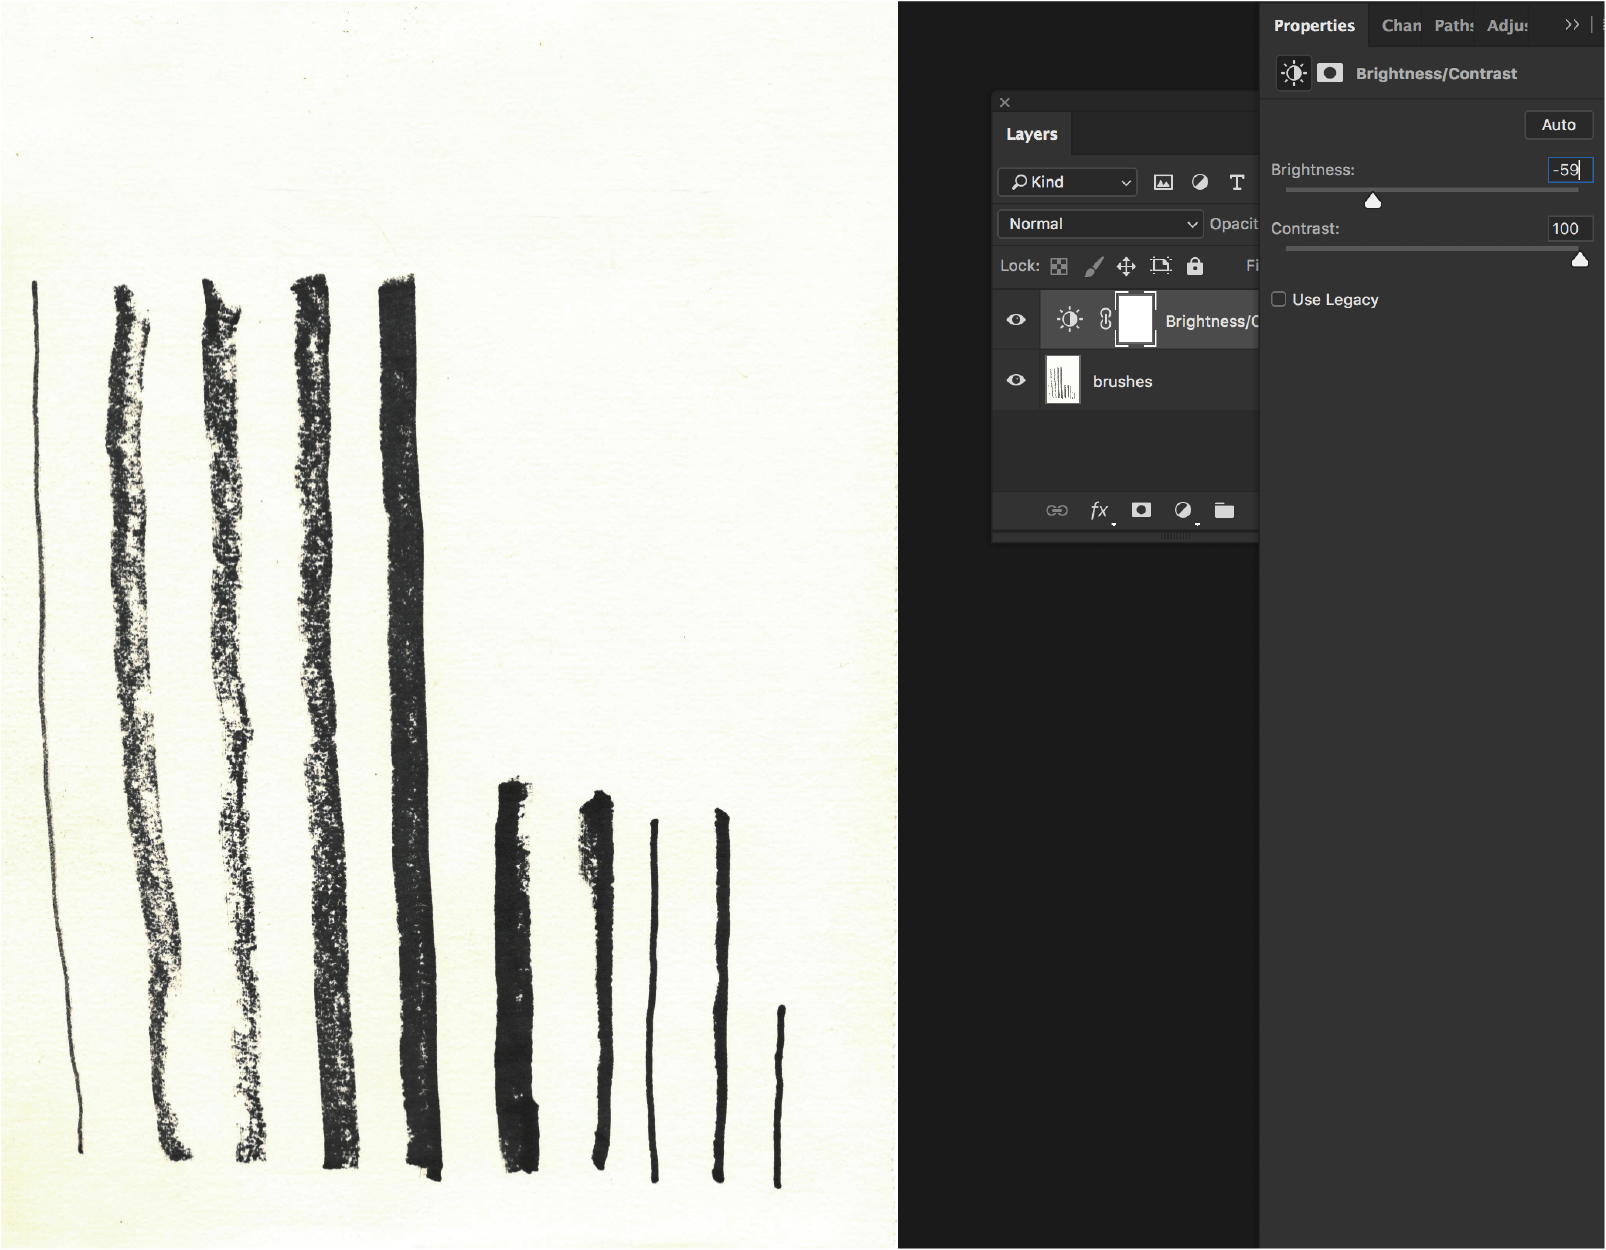
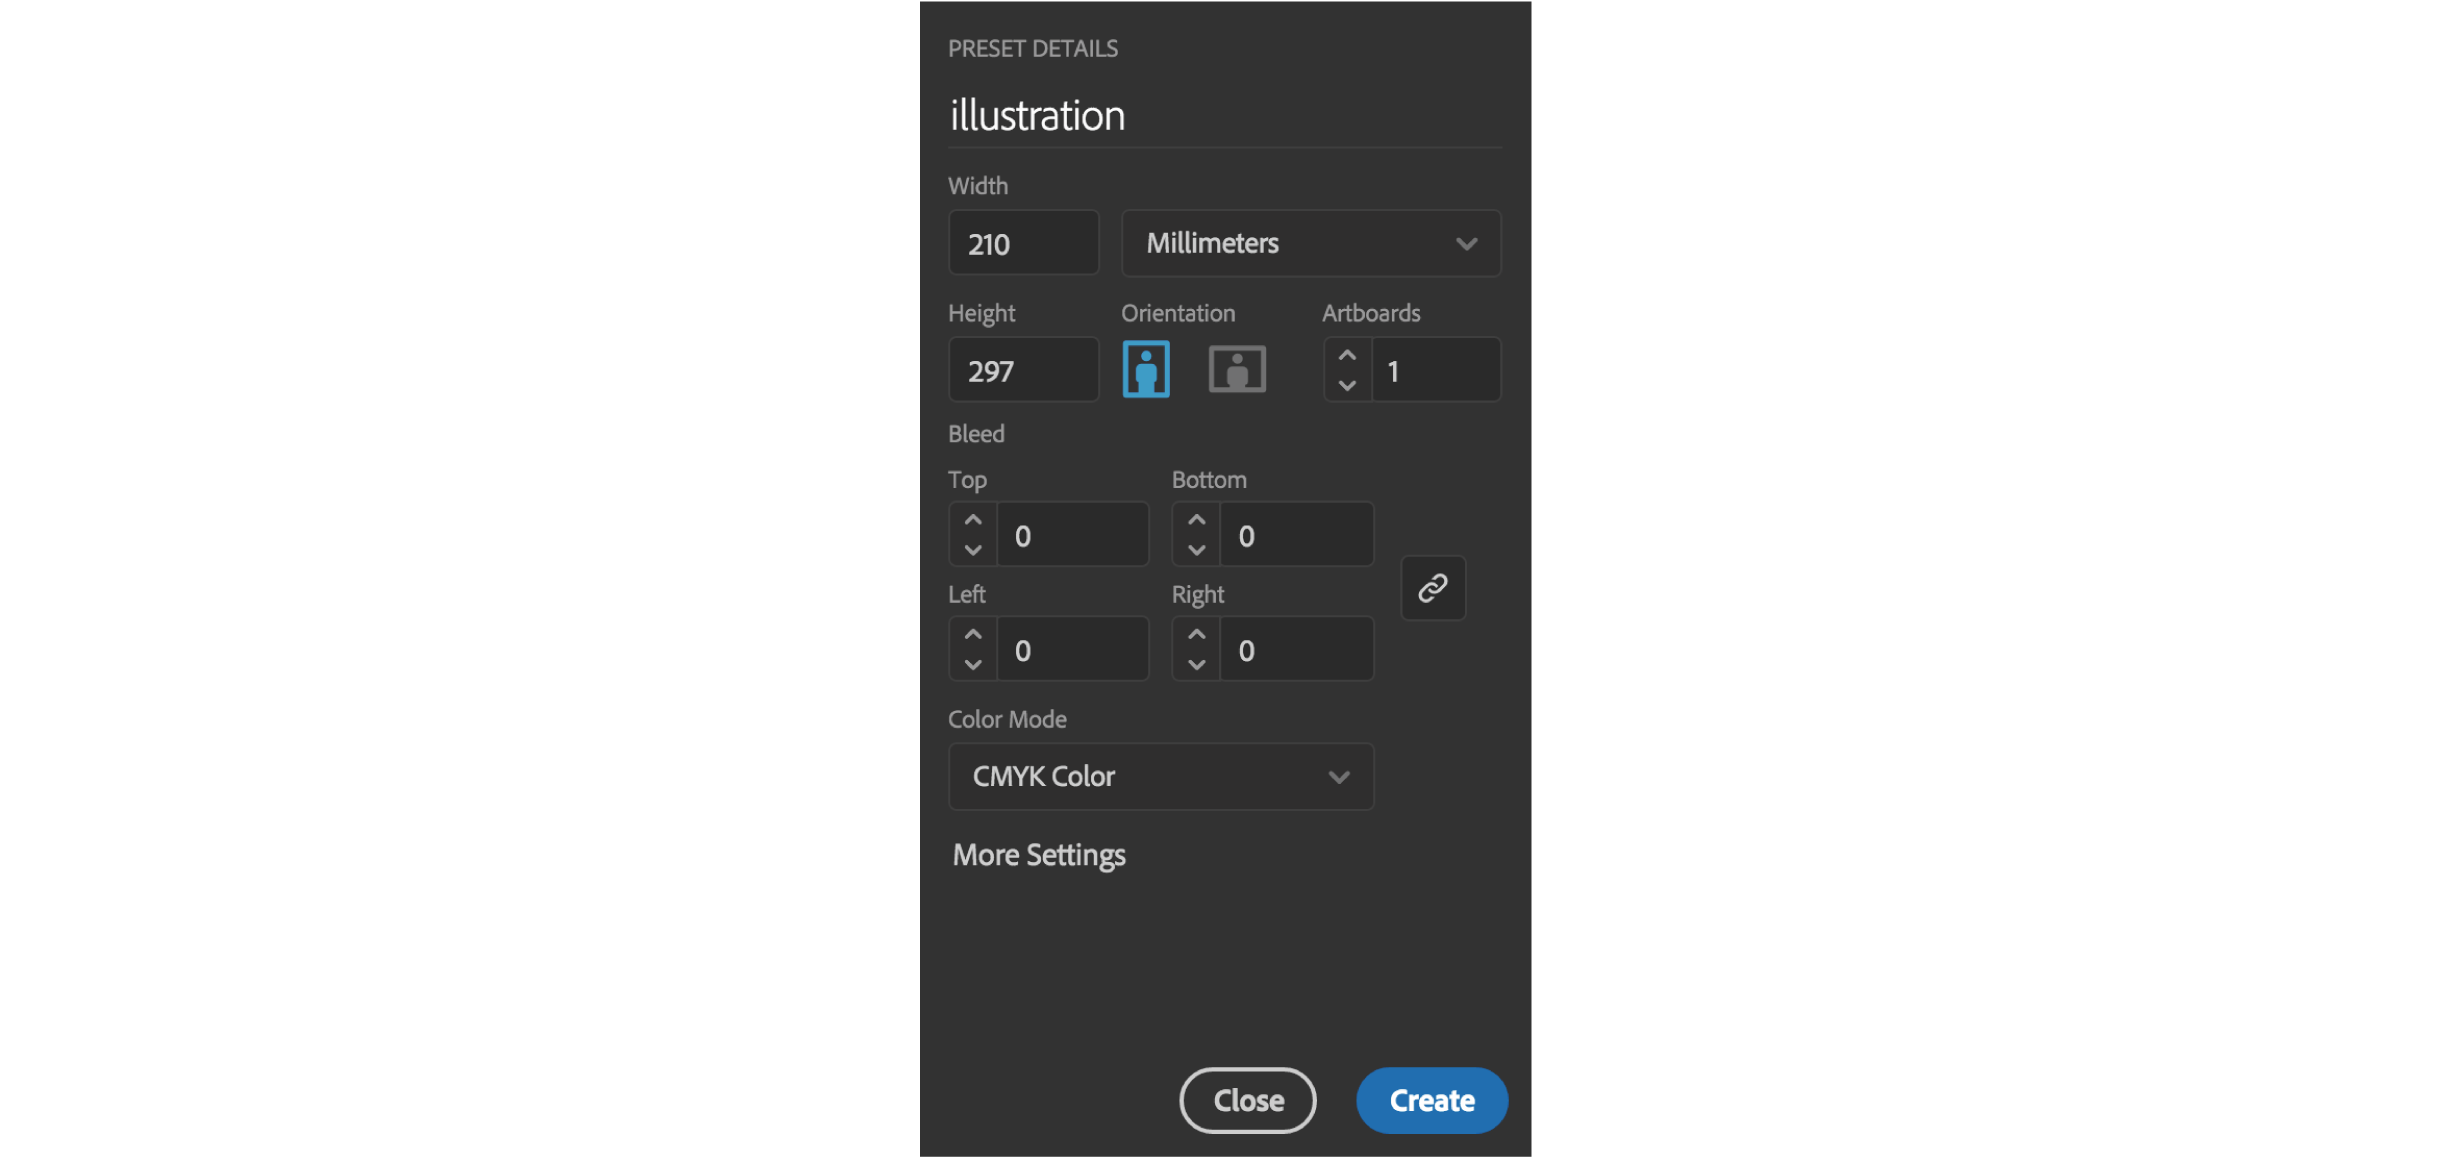
We save our contrasted drawings in Photoshop as JPGs. Then we create a new Illustrator file (File>New) with the parameters as below.
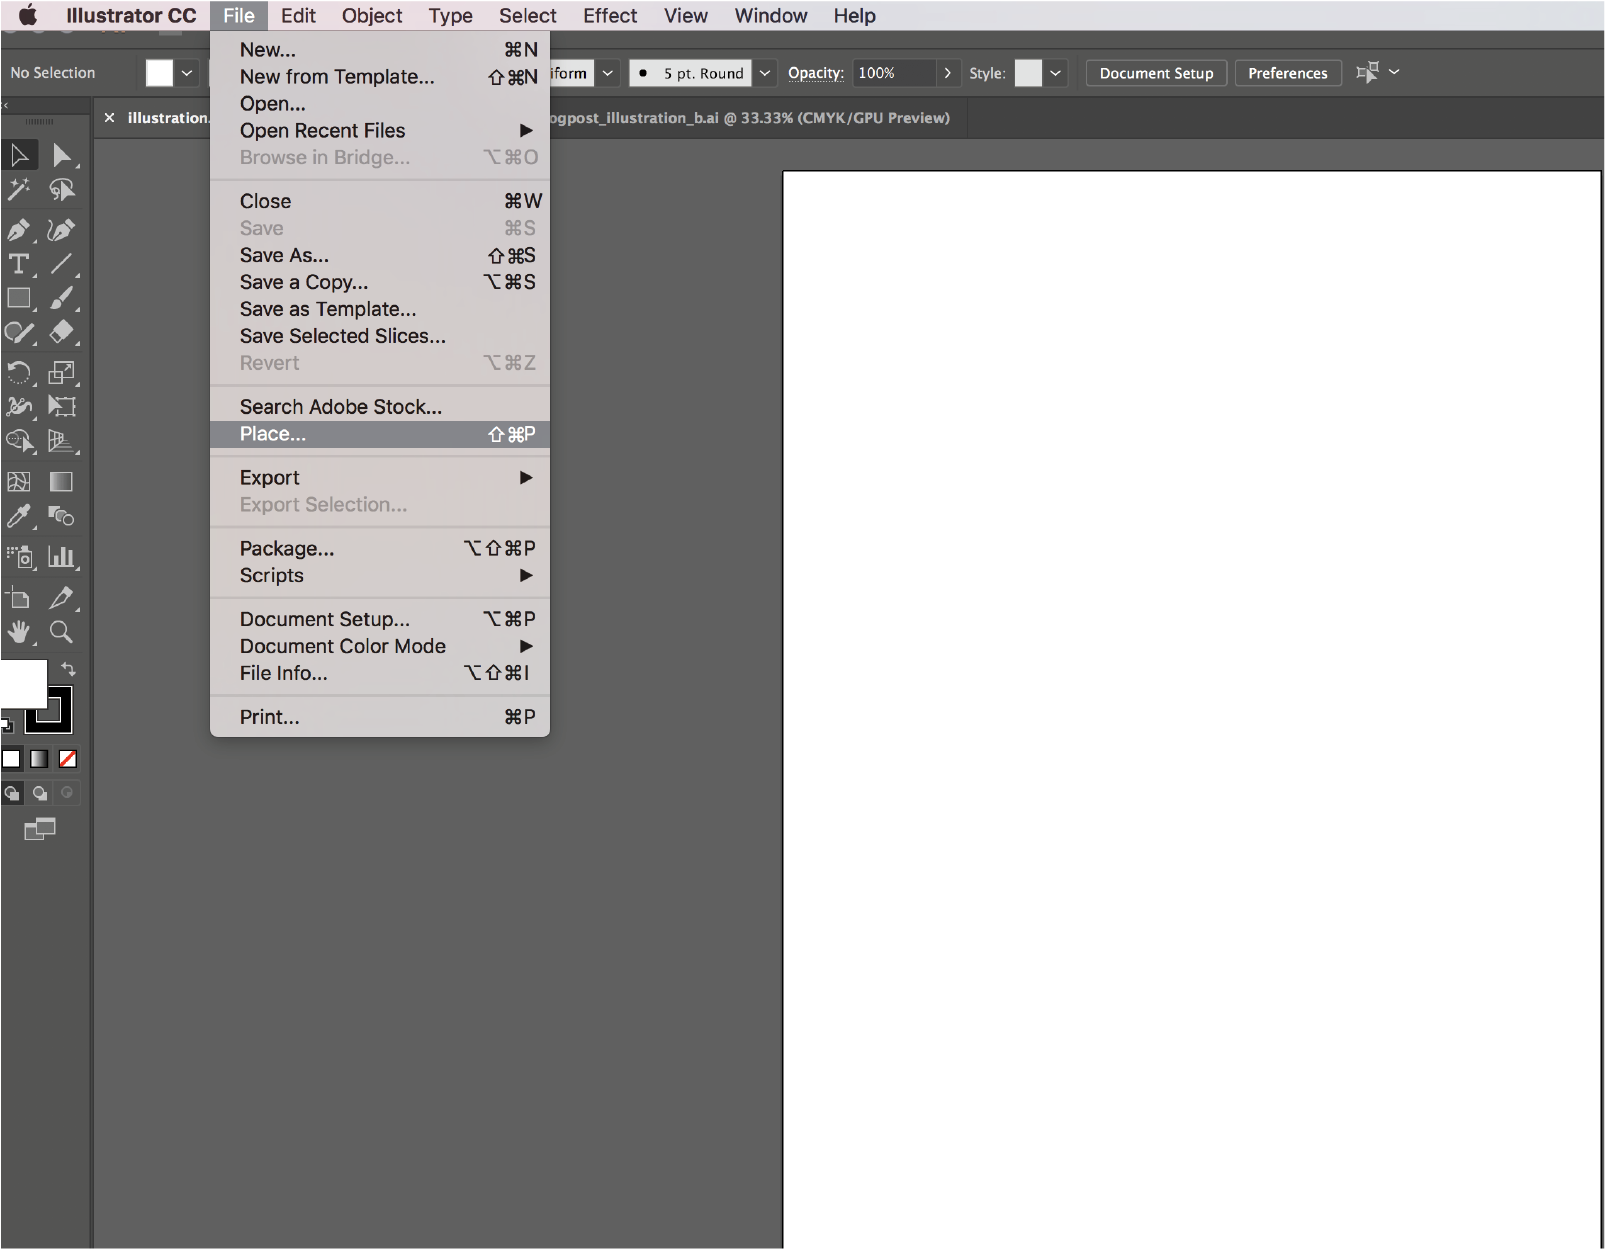
To import JPGs of drawings we go to File>Place or press hotkey command Shift+Command+P.
We pick both JPGs of brushes and character’s sketch and then we place them in our work area. Then we go to Layers panel and we change the name of “Layer 1” to Drawings.
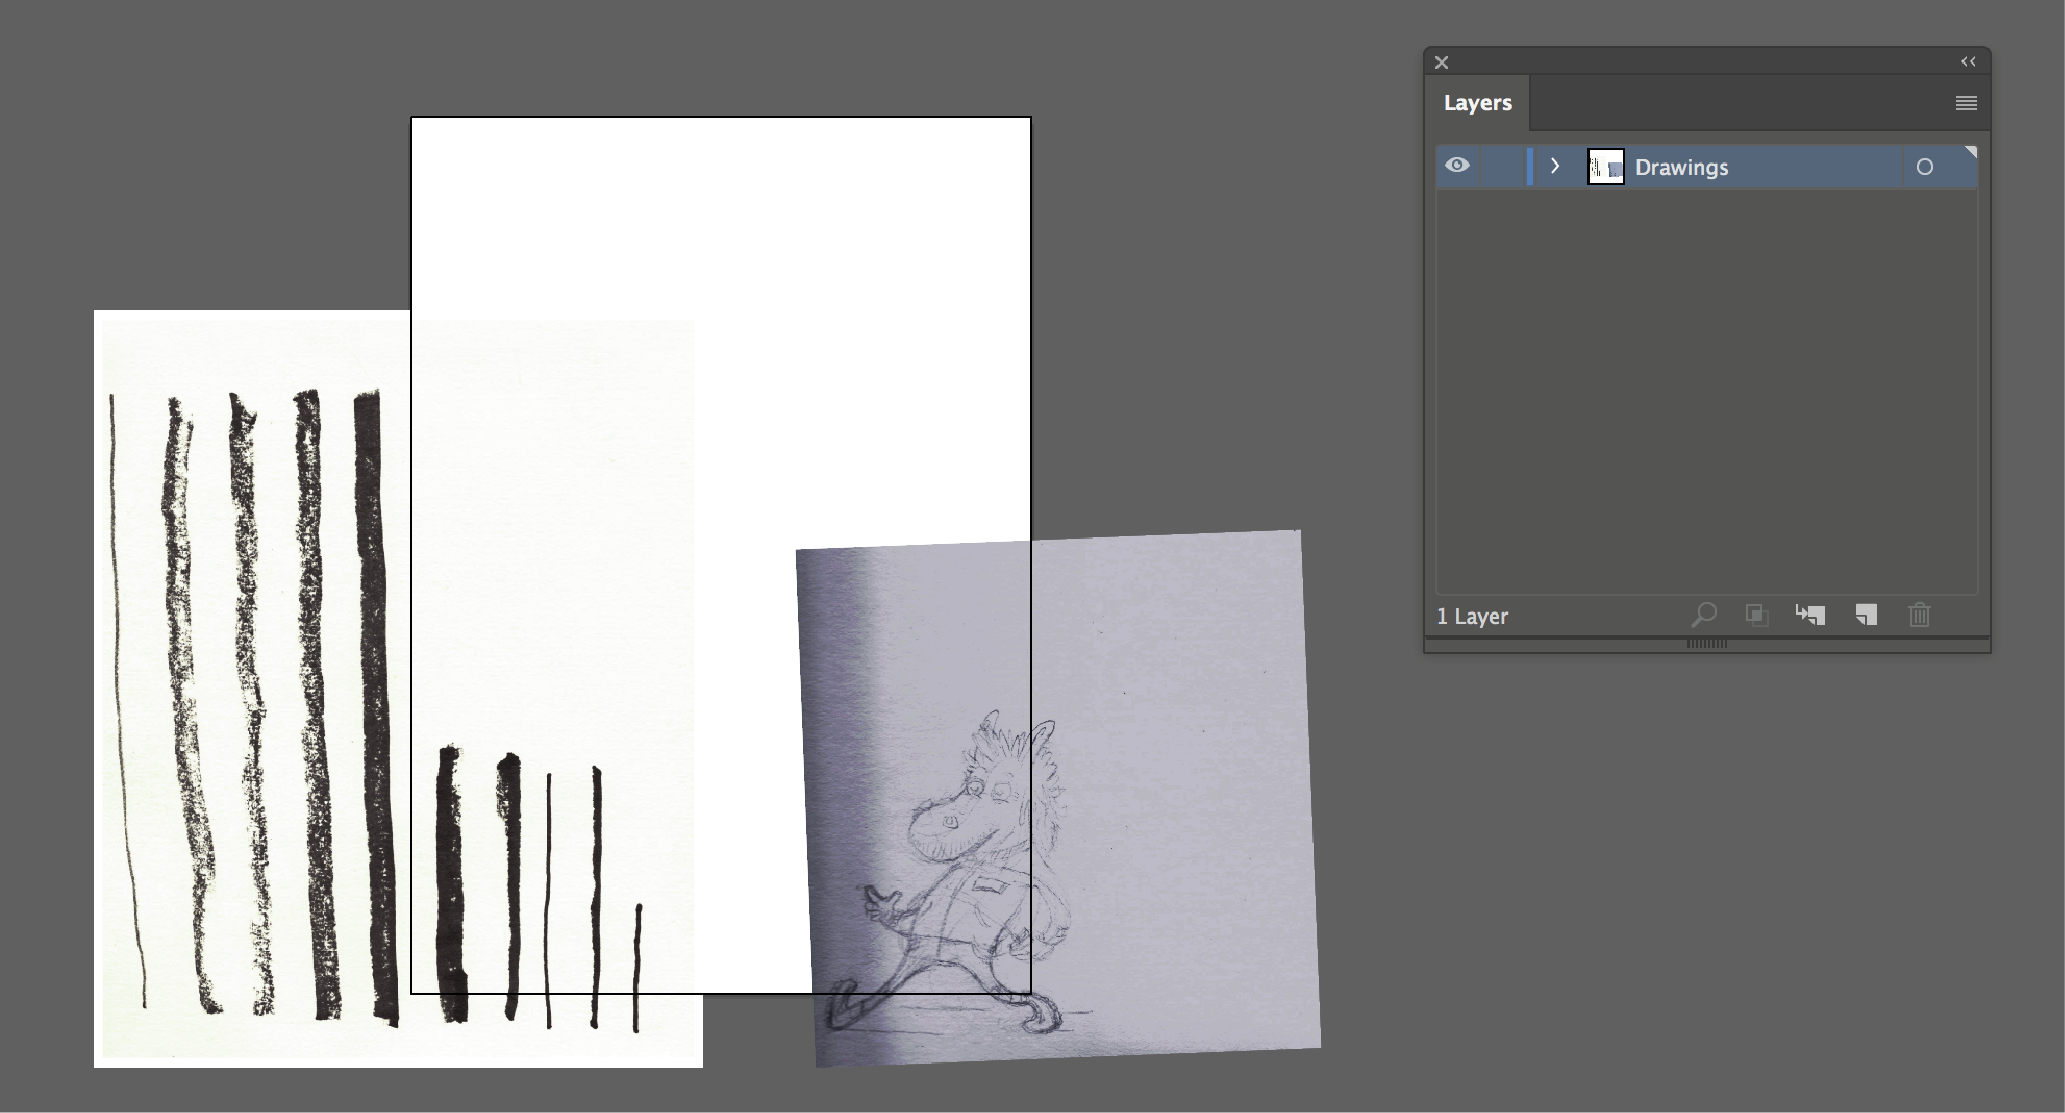
We pick both JPGs of brushes and character’s sketch and then we place them in our work area. Then we go to Layers panel and we change the name of “Layer 1” to Drawings.

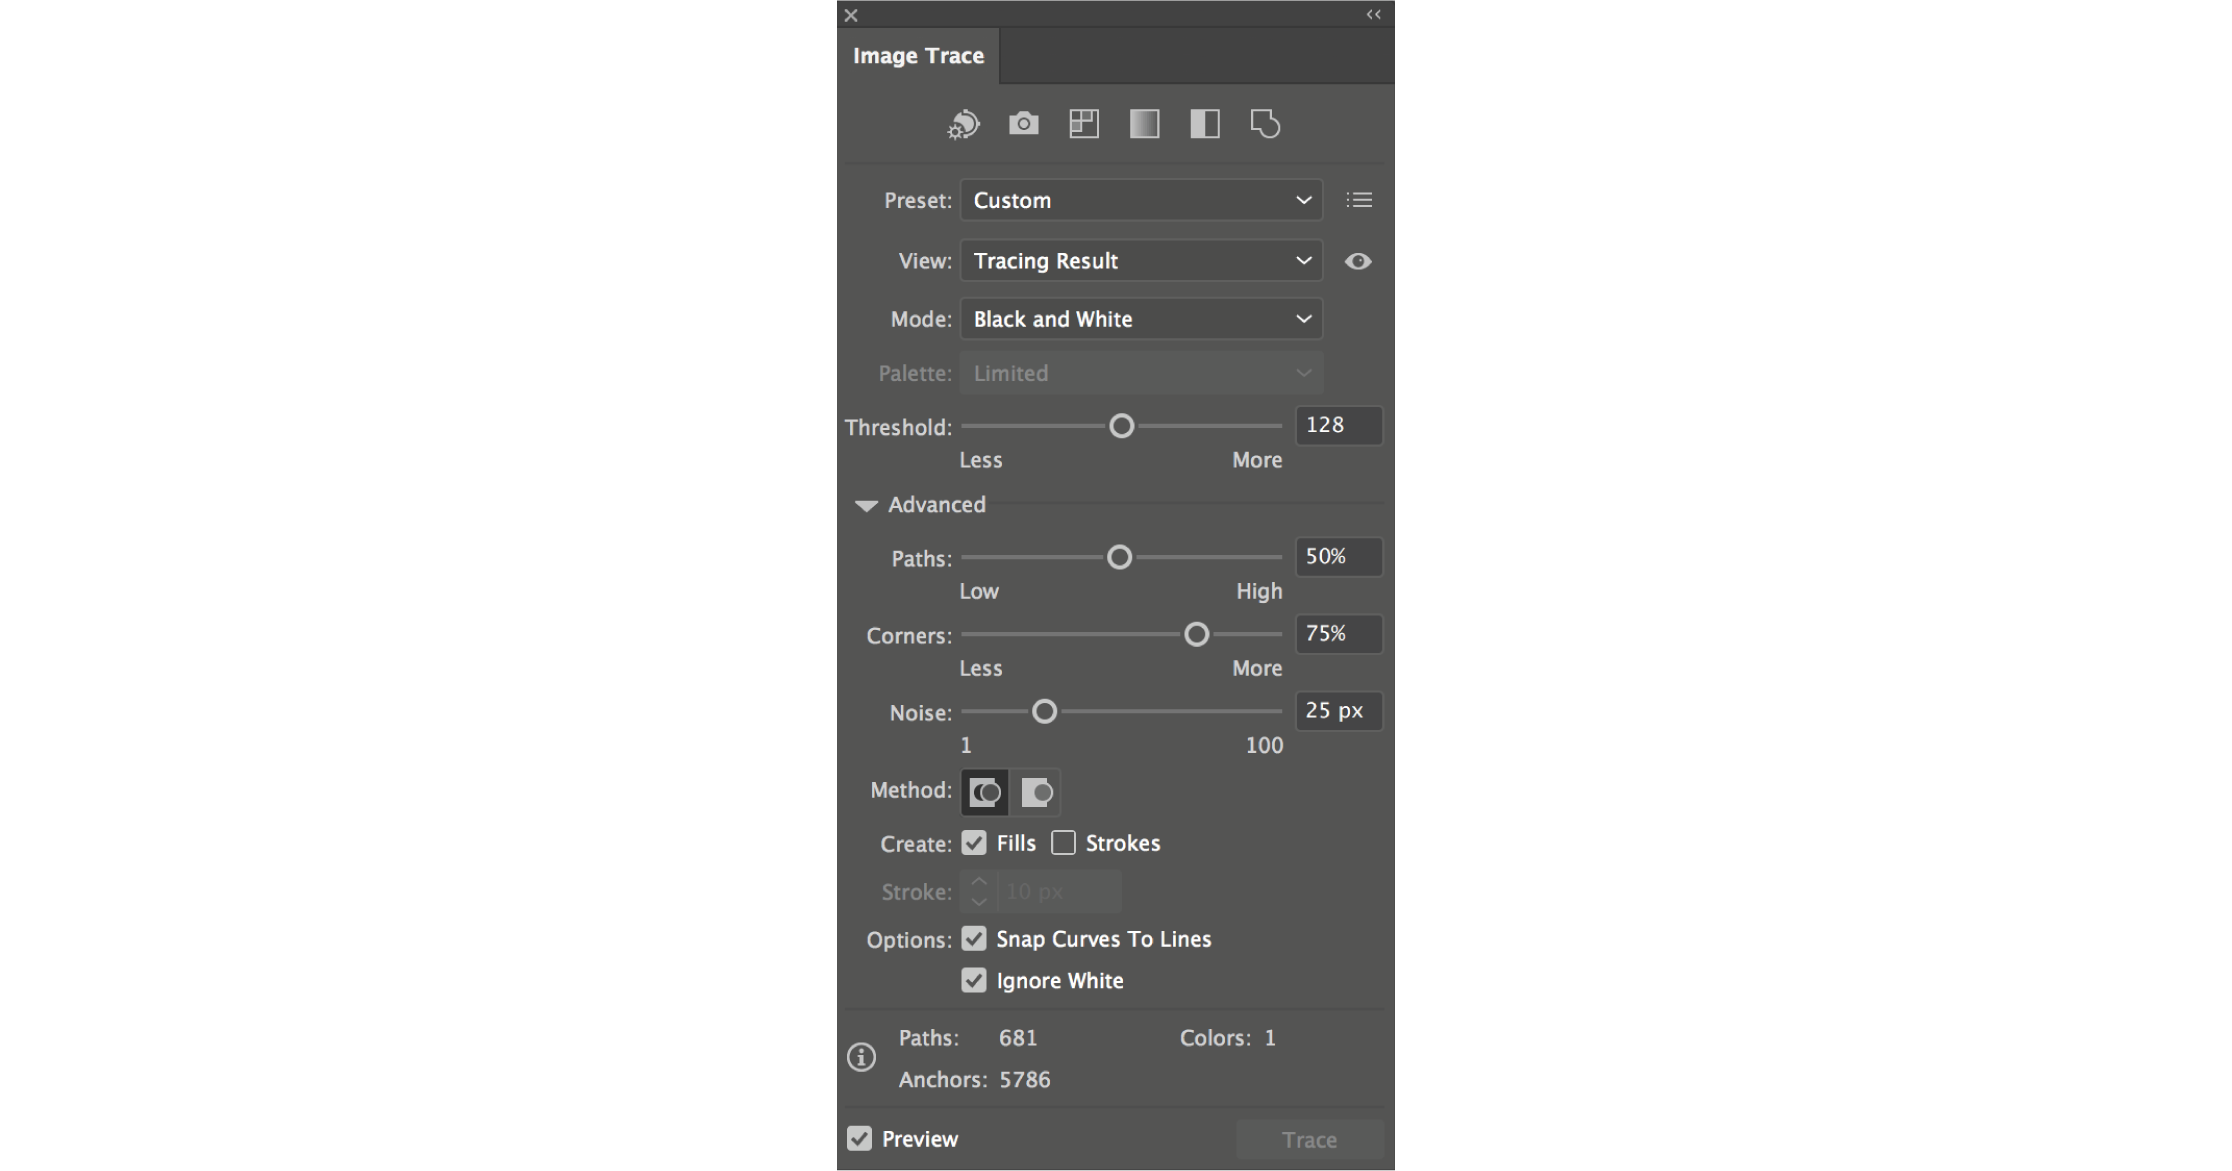
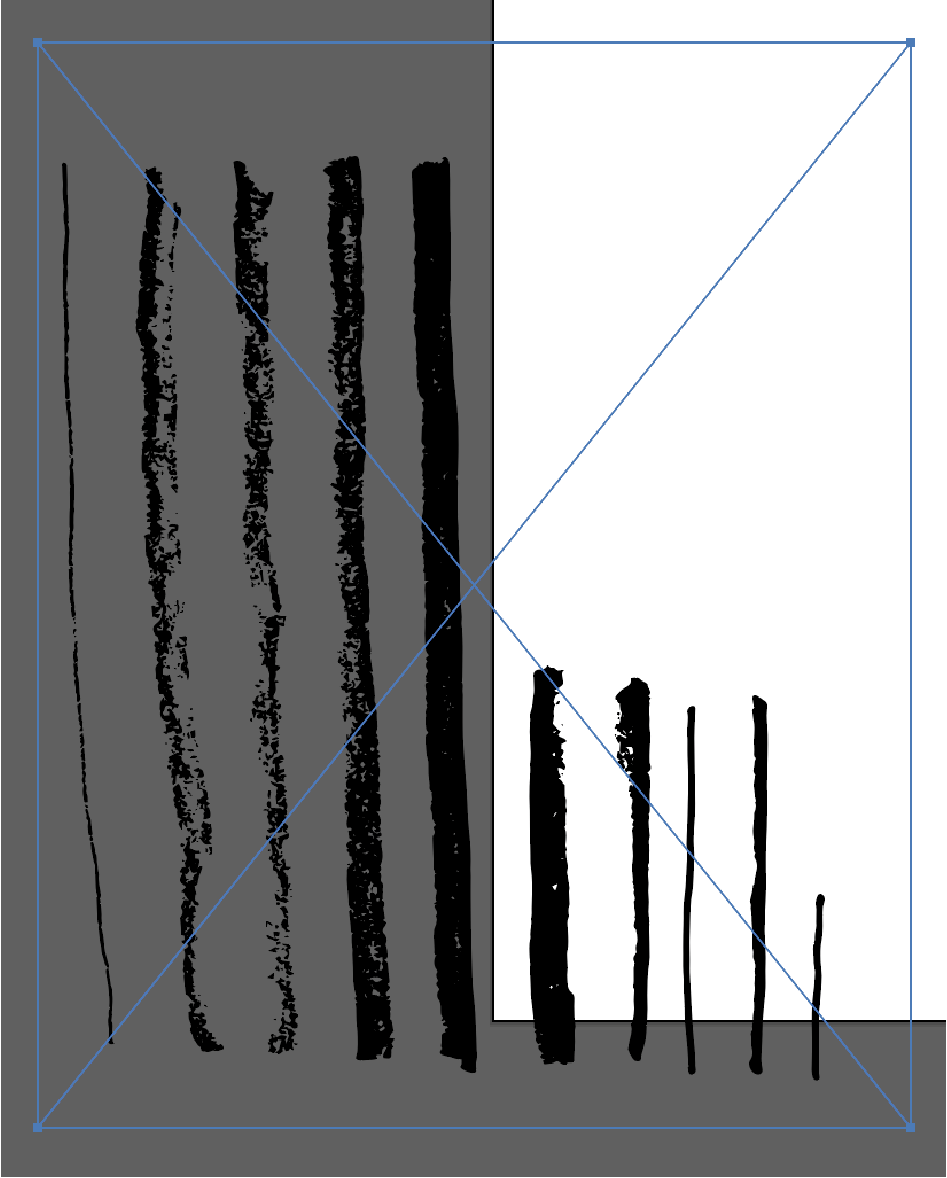
We ungroup selected vectorized brushes and with right-click on it we ungroup it (Shift+Command+G). Then we select unwanted shapes and delete them.
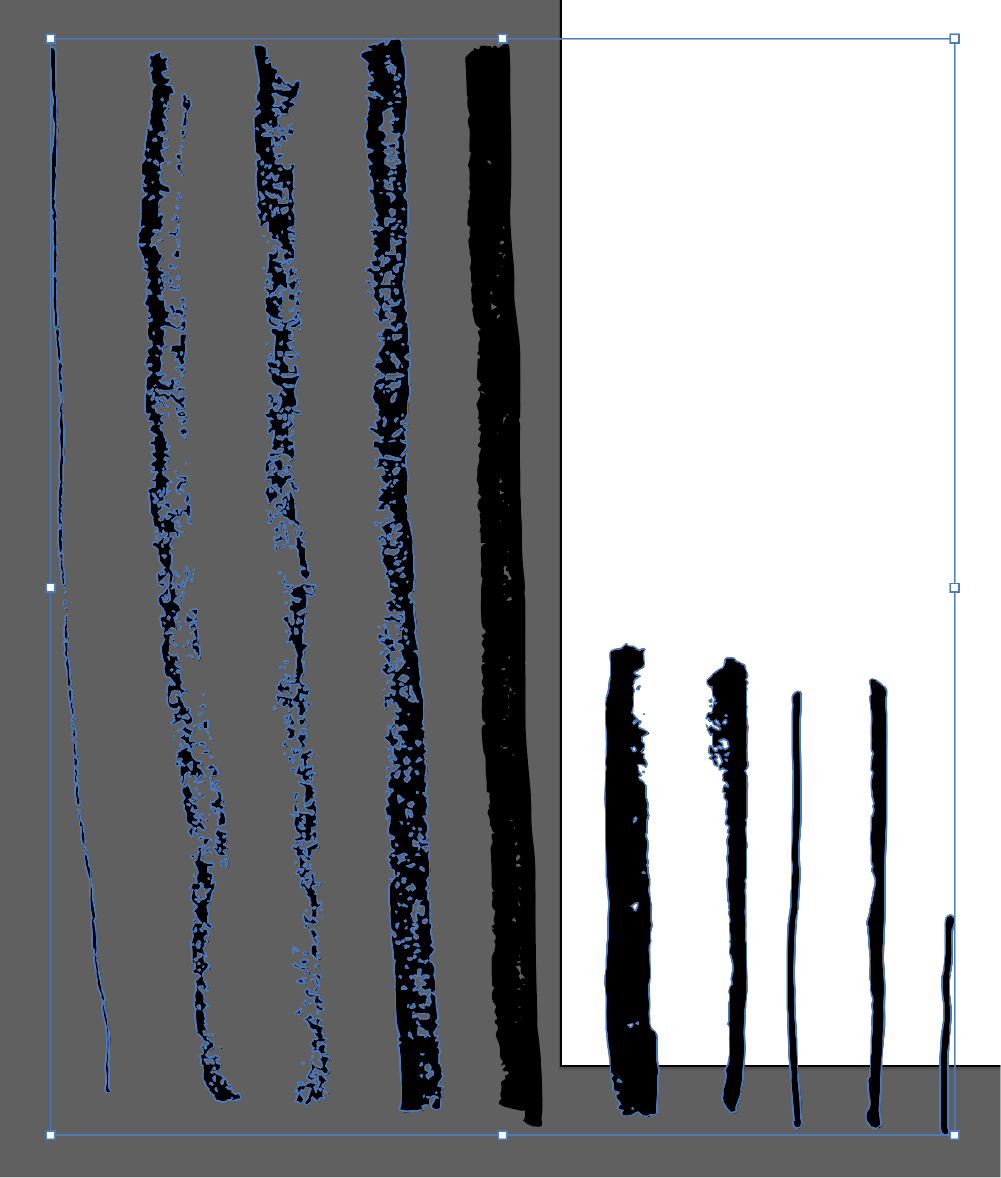
The shape that is left we select with Selection Tool and rotate it to horizontal position. After this we go to top bar, we select there Window>Brushes and from the Brushes window we click the icon at the bottom bar: Create New Brush>Art Brush. New Art Brush Option will appear - we keep all default options and press OK. Bam, now we have our own brush! Too see it as a stroke let’s draw the stroke with Segment Line Tool (/) and apply the brush we created. This is how it supposed to look like:

Now we go to Layers panel and we create there a brand new Layer (by clicking the Create New Layer in bottom options bar in Layers Panel) and we call it Brushes. It’s recommended to lock Drawings layer so it won’t bother us during applying the actual lines on Brushes layer.

It’s time to put stroke lines on our character by using a Pencil Tool (N). To keep our strokes’ shapes smoother, we click Pencil Tool icon twice in Tools Panel to enter the options of this tool. We change there Fidelity level to max Smooth - then we click OK. Now we can apply our brush to Pencil Tool and draw first strokes.
It’s worth to mention that the original brush stroke was a bit thick for the illustration (1pt), so it was better to change its weight to 0.05 pt. You can do this easily in a Brush Panel.

To achieve as much accurate shape of strokes we use Direct Selection Tool (A) and we select with it anchor points of our lines. By dragging them we can easily change specific parts of our lines. And this is a really cool thing - even if you don’t have a skill in drawing, with a little help from Direct Selection Tool you can edit shapes of your lines just as you want! The whole process of brush stroke creating can be seen on the recording below:
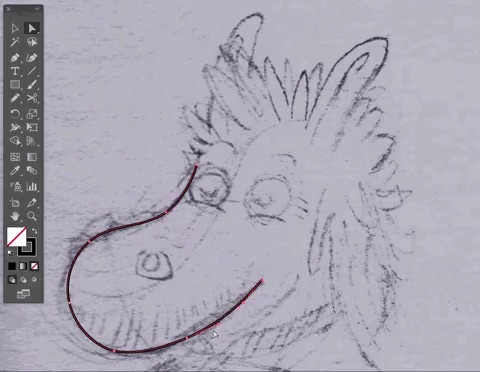
With this method we can create the whole illustration. Note that on details (like on stitches of the cloth) it’s effective to use lower weight of stroke. And don’t bother about crossing the lines! This thing can be fixed later.
When your brush strokes are ready, hide Layer Drawings by clicking eye-icon Toggle Visibility.
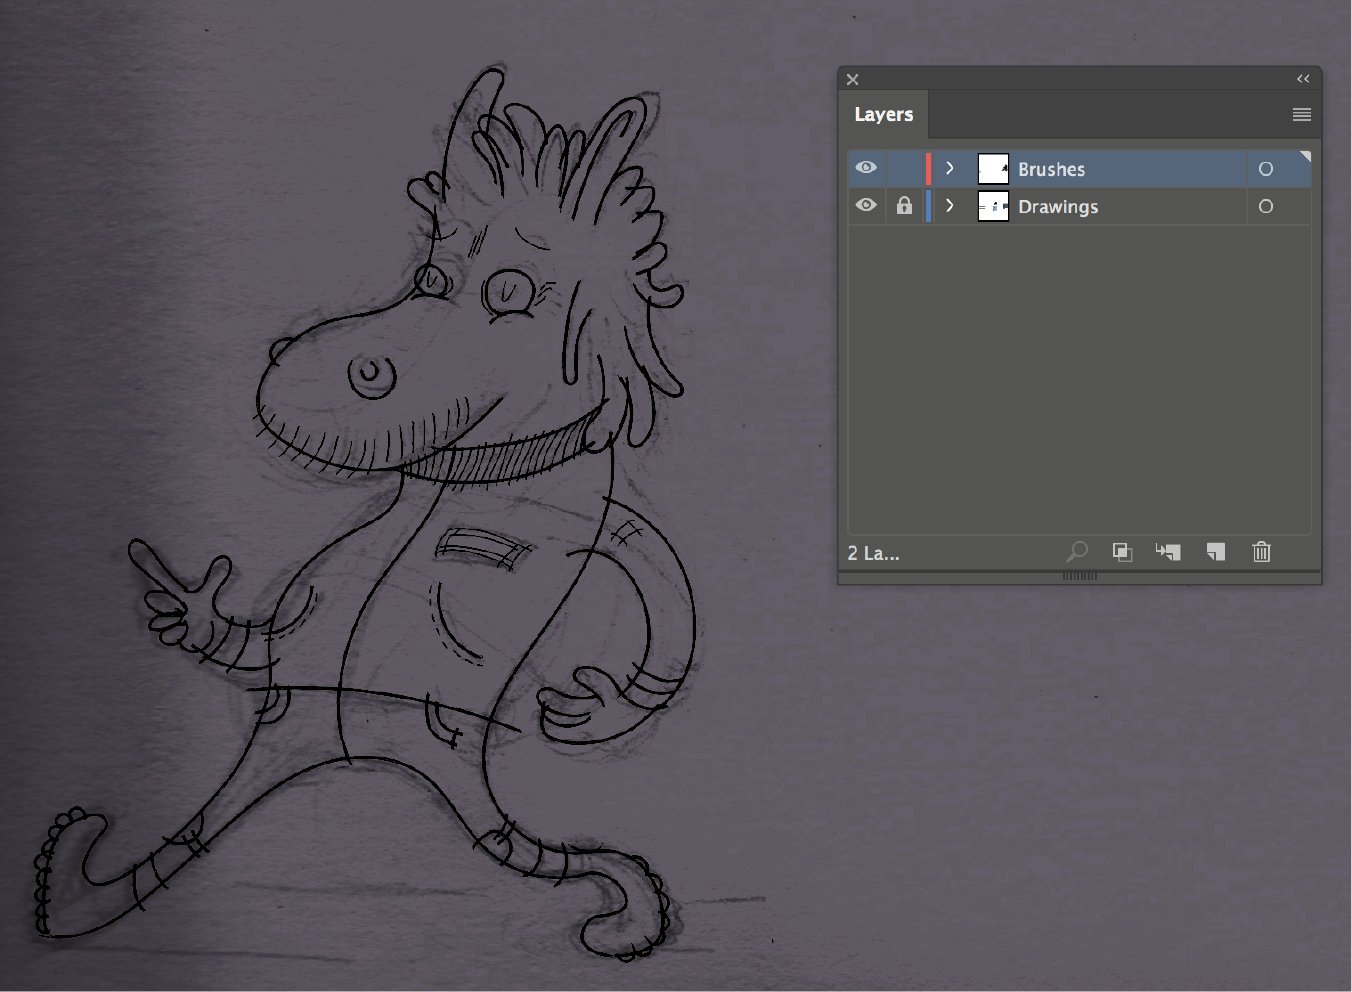
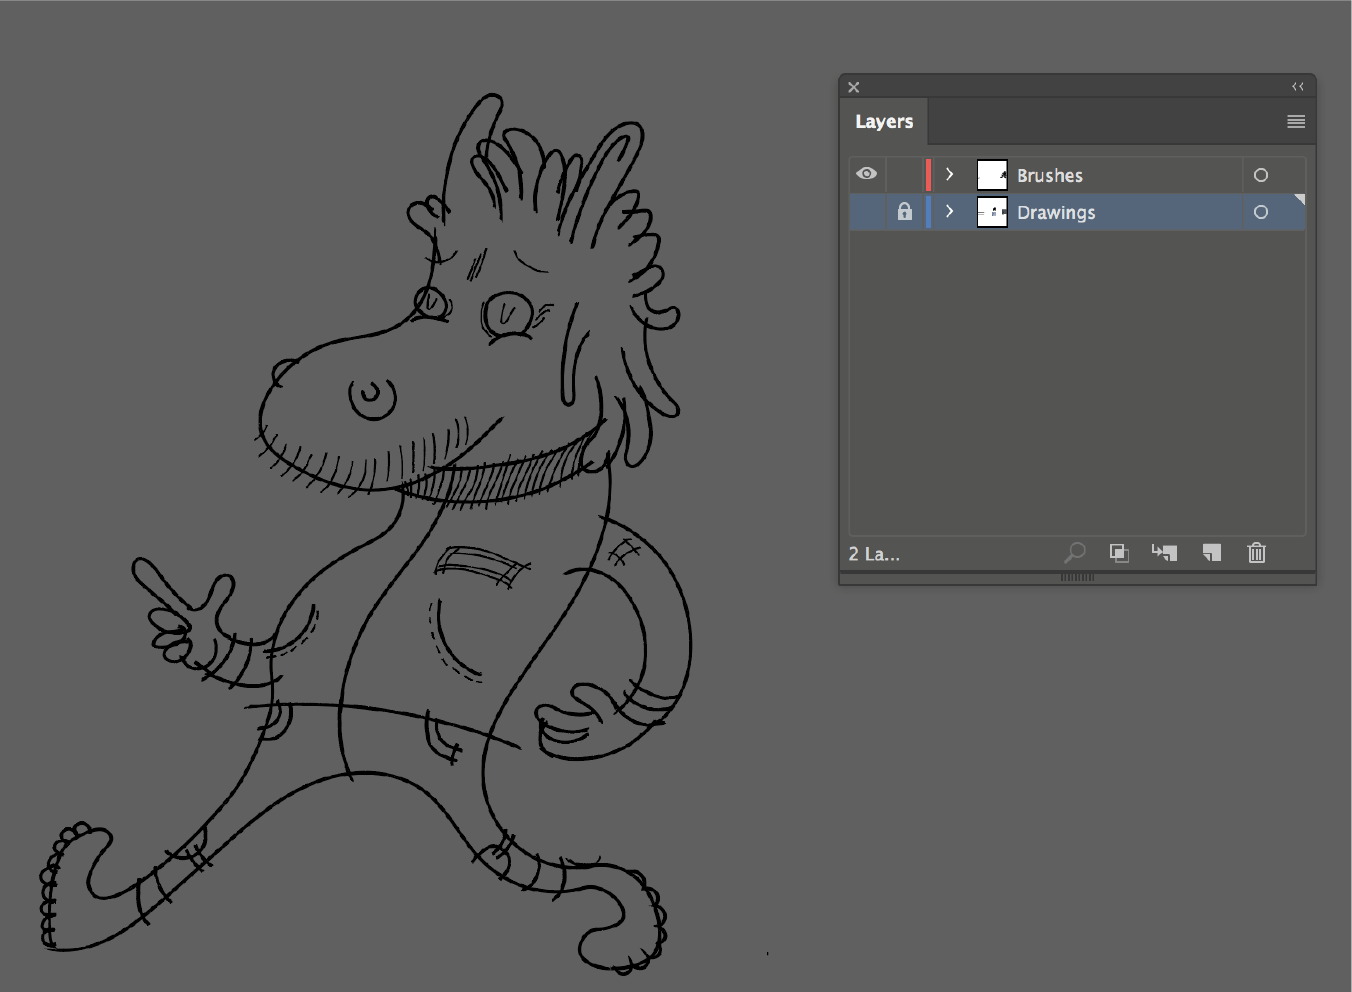
It’s time to transform our character's strokes to outlines! To do this we select all of the strokes with Selection Tool (V), then we go to Top Menu Bar>Object>Expand Appearance. Now our brush strokes became regular shapes. We select our newly created shapes and then we open Pathfinder Panel where we select Divide Option.

Now our illustration shapes are divided and we can easily pick unwanted parts with Direct Selection Tool (A) and delete them.
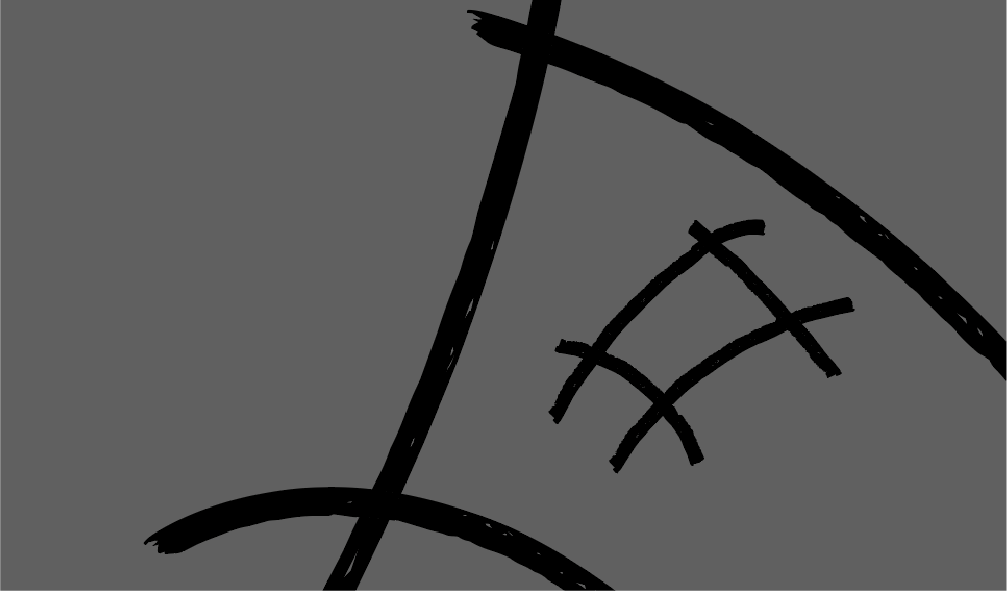
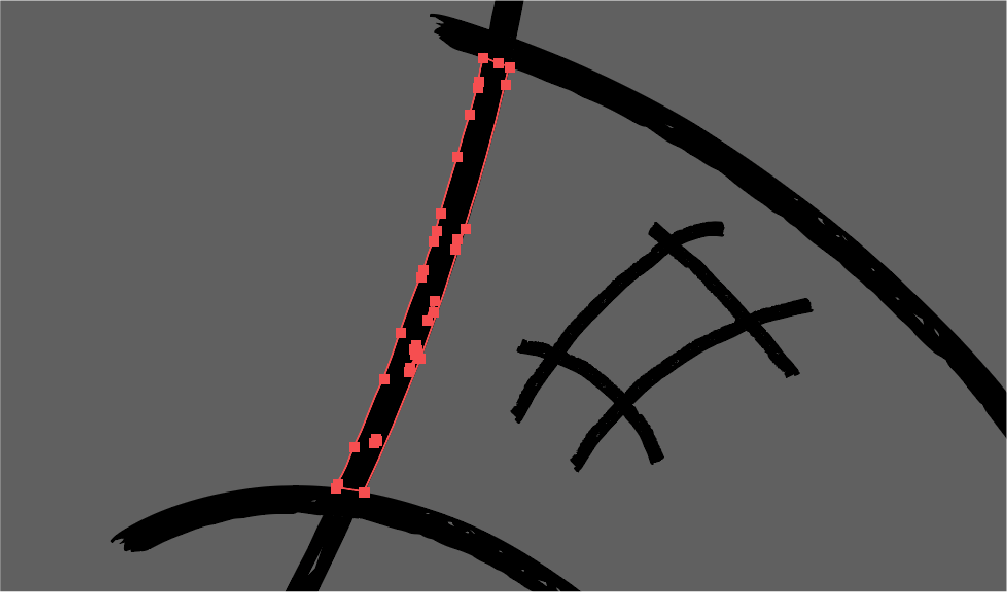
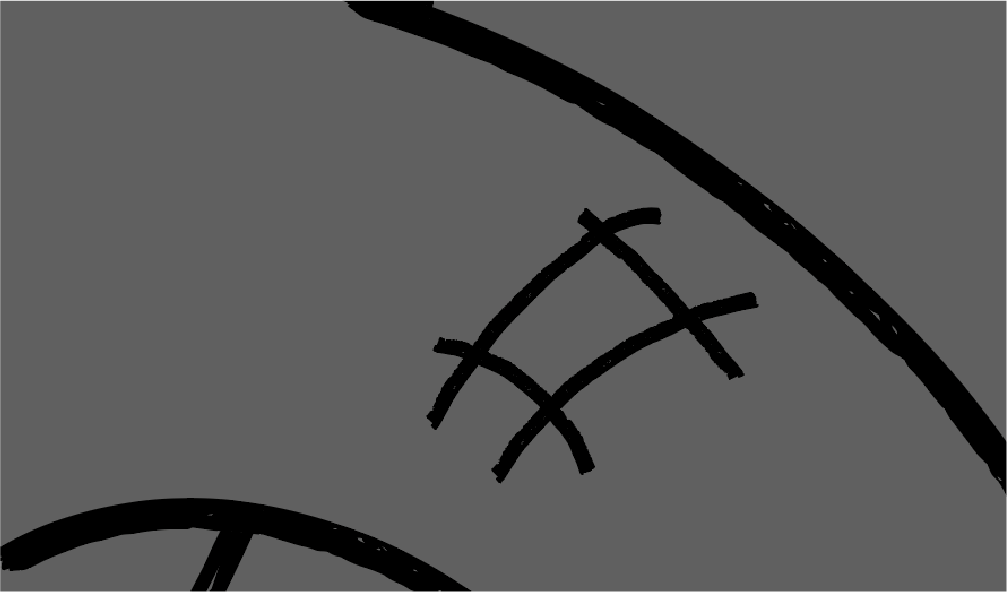
With this method we can clean the whole illustration from unnecessary shapes. That’s the final result on a white art board background:
In the next tutorial we’ll get through another step: coloring and shading in illustrator!
Conclusion: By combining your freehand lines, character’s illustrations with Illustrator’s features you can achieve a very personal effect of your final vector illustration - and in the same you can keep the control of your lines shapes exactly as you want it.


